

Nothing transforms a blank wall faster than canvas art — and nothing is more frustrating than wanting to hang it when your lease says no nails, no screws, no holes. The good news is that modern damage-free hanging methods are genuinely strong enough for most canvas prints. With the right technique, your art stays up for years and comes down cleanly when you move out.
This guide covers every reliable way to hang canvas art without nails: adhesive strips, hook-and-loop fasteners, leaning and propping, picture ledges, and tension rods. You will also learn the mistakes that cause most failures — and how the one-hour rule makes the difference between art that holds and art that slides off the wall at 2 a.m.
First things first: once you have picked your canvas art at TimarSix, you need a hanging plan before it arrives. Read this guide, choose the method that fits your wall and your canvas size, and gather your supplies — your walls will thank you.
Know Your Canvas: Weight and Wall Type
Before choosing a method, you need two facts: how much your canvas weighs and what your wall is made of. Most damage-free methods are rated by weight, and every method has wall types where it shines and wall types where it fails.
Weigh Your Canvas
Do not guess — actually weigh it. Step on a bathroom scale holding the canvas, then step on without it, and subtract. Most standard stretched canvas prints (16×20 to 24×36 inches) weigh between 2 and 8 pounds, well within the range of quality adhesive strips. Larger gallery-size pieces can exceed 15 pounds, which narrows your options.
Identify Your Wall
Adhesive methods work best on smooth surfaces: painted drywall, finished wood, tile, glass, and metal. They struggle on textured walls, brick, concrete, and wallpaper — the adhesive cannot make full contact with uneven surfaces, and wallpaper can peel when the adhesive is removed. If your wall is textured, test a small, hidden spot first before committing to a large piece.
Method 1: Adhesive Picture-Hanging Strips (Best All-Rounder)
Adhesive picture-hanging strips — the interlocking kind that click together like hook-and-loop fasteners — are the most popular nail-free method for a reason. They hold a surprising amount of weight, sit nearly flush against the wall, and remove cleanly with a slow stretch.
How Much Weight Can They Hold?
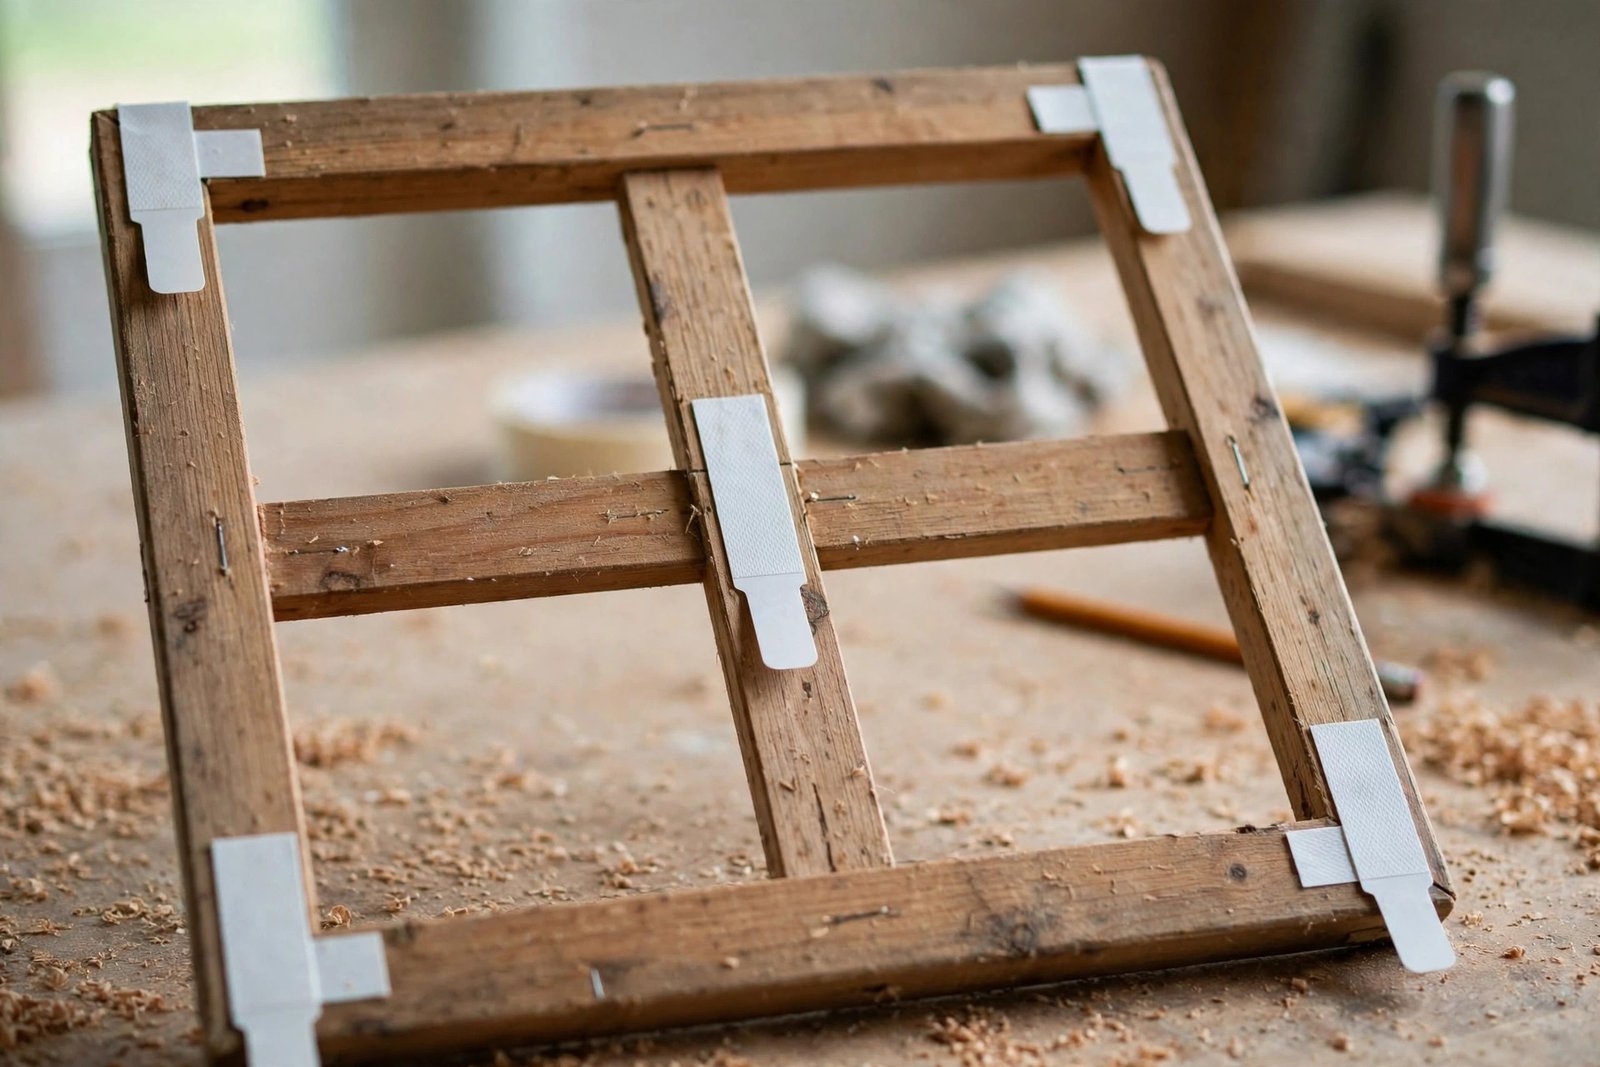
Go by the package, and respect the ratings. As a reference point, 3M Command large picture-hanging strips are rated to hold up to 16 pounds per four pairs (8 strips) for frames up to 24×36 inches, and the extra-large version goes up to 20 pounds per four pairs. Use more strips than you think you need for heavier pieces — distributing the load across the frame’s corners and center supports keeps everything stable.
One smart habit: treat the printed rating as a maximum, not a target. If your canvas is close to the limit, step up to the next size of strip or add an extra pair. Strips are cheap; a fallen canvas is not.
The Step-by-Step Method
The difference between strips that hold for years and strips that fail in a week is almost always in the preparation. Follow the manufacturer’s process exactly:
- Clean the wall with rubbing alcohol. Wipe the area with isopropyl alcohol and let it dry. Do not use household cleaners or water — they leave a film that weakens the bond.
- Check the paint. Do not apply strips to walls painted less than 7 days ago; the paint needs time to cure fully.
- Click the strip pairs together, remove one side of the liners, and press them onto the back of the canvas frame — corners and along the stretcher bars for even support.
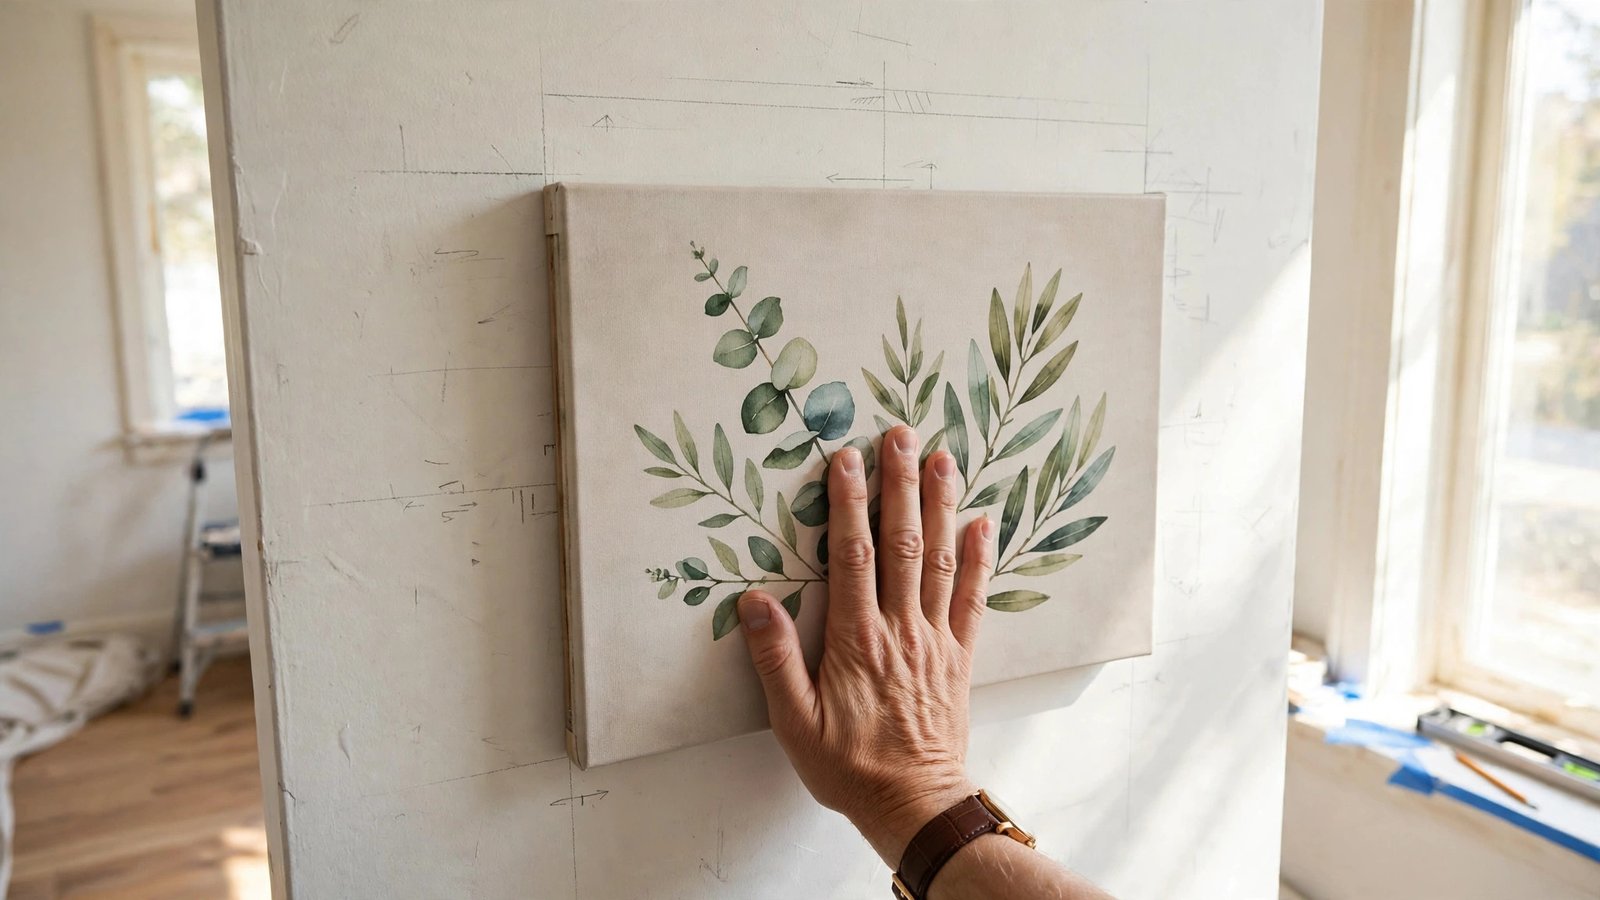
- Remove the remaining liners and press the canvas firmly to the wall. Hold for about 30 seconds.
- Now the critical step: peel the canvas back off the wall, leaving the wall-side strips in place. Press and rub those strips firmly for 30 seconds, then wait one full hour before re-attaching the canvas. This waiting period lets the adhesive bond reach full strength before it carries any weight.
- Re-attach the canvas by pressing it back onto the wall strips until each pair clicks. Give it a gentle tug test.
That one-hour wait is the step almost everyone skips — and the step manufacturers like 3M emphasize most. The adhesive needs dwell time to bond with the wall. Hang the weight too early and you are asking uncured adhesive to do a cured adhesive’s job.
Clean Removal
When it is time to move the art, the removal process is engineered to protect your paint. Peel the canvas off the wall strips (never pull straight outward), then stretch each wall-side strip slowly straight down along the wall for at least 12 to 15 inches until it releases. Slow and parallel is the mantra — pulling at an angle is what tears paint.
Method 2: Adhesive Hooks for Wired Canvases
Some canvas prints come with hanging wire or sawtooth hardware already installed. For these, adhesive hooks using the same strip technology can be a simpler option than full strip sets. Heavy-duty adhesive hooks range from a few pounds up to very high capacities — some rated as high as 42 pounds — so match the hook rating to your canvas weight and use two hooks spaced evenly for larger pieces.
The same rules apply: clean with rubbing alcohol, press firmly for 30 seconds, and wait the full hour before hanging the art. Position the hooks roughly one-third of the way down from the top of the frame so the canvas sits flush and stable.
Method 3: Lean and Prop (Easiest of All)
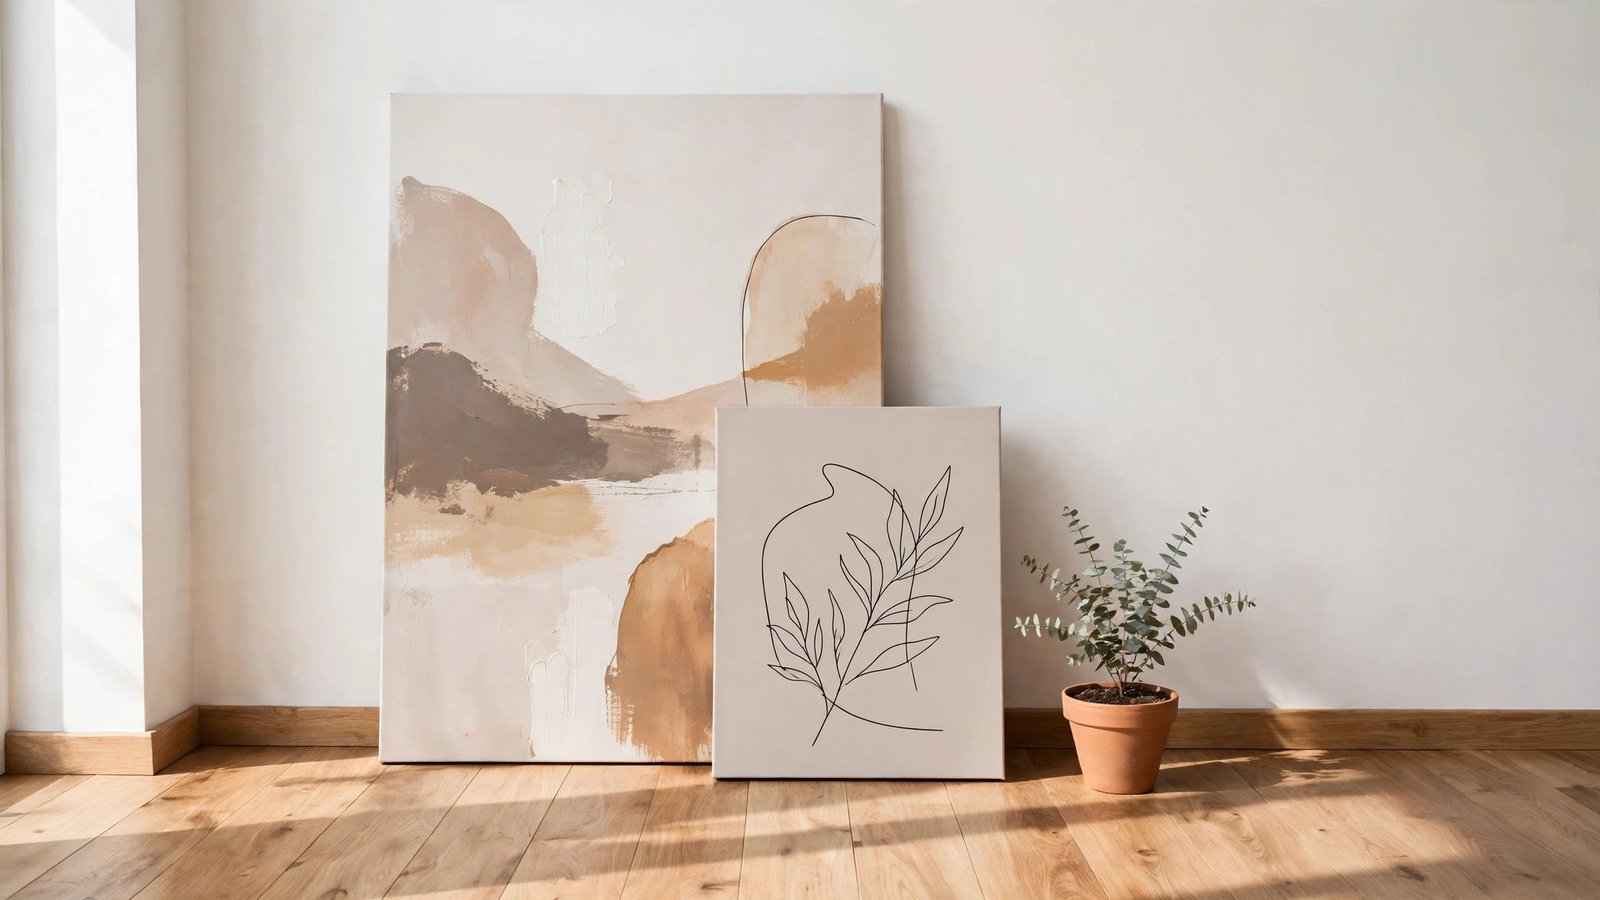
Sometimes the best hanging method is no hanging at all. Leaning a canvas against the wall — on a mantel, a dresser, a bookshelf, or even the floor — is completely damage-free and looks intentionally styled when done right. This is the ideal method for oversized canvases that are too heavy for adhesives and too precious to risk.
A few tips make leaning look deliberate rather than unfinished. Use a piece large enough to anchor the surface it sits on — a small canvas on a big empty mantel looks lost. Layer a smaller leaning canvas in front of a larger one for a collected, gallery feel. And keep the bottom edge secure: a small strip of museum putty or a discreet bookend prevents sliding on slick floors.
Method 4: Picture Ledges and Shelves
A picture ledge is a narrow shelf that lets you display canvases by resting them against the wall — no hanging hardware on the art itself. You still need to mount the ledge (many are designed to hang from a single small anchor or adhesive), but one ledge can hold several canvases, and rearranging your display becomes as easy as sliding frames around.
Ledges are perfect for creating a gallery wall you can update seasonally. Lean two or three canvases of different sizes along one ledge, overlap them slightly, and you have an arrangement that looks curated and costs almost nothing to change. For renters who love to redecorate, a ledge is the gift that keeps giving.
Method 5: Tension Rods and Wire Systems
For a gallery-style display across a whole wall, tension rods with wire or cable systems let you hang multiple canvases without a single wall anchor in the art itself. Mount rods inside a window frame, between two walls in an alcove, or along a hallway, then hang canvases from the wire with hooks or clips.
This method shines when you want to rotate art frequently — seasonal canvases, a growing collection, or a hallway gallery that changes with your mood. Each piece hangs independently, so you can adjust heights and swap pieces in seconds.
5 Mistakes That Cause Most Failures
1. Skipping the Rubbing Alcohol
Dust, oils, and cleaning-product residue are the enemies of adhesive bonds. A quick wipe with isopropyl alcohol takes thirty seconds and is the single most effective thing you can do to prevent failure. Household cleaners and water leave films — alcohol evaporates clean.
2. Hanging Before the Adhesive Cures
The one-hour wait exists for a reason. Manufacturers are explicit: press the strips, then wait a full hour before the art takes the load. Impatience here is the number-one cause of 2 a.m. crashes.
3. Using Too Few Strips
When in doubt, add another pair. Distribute strips across the frame’s corners and center supports rather than clustering them in the middle. Extra strips cost little and buy a large margin of safety.
4. Ignoring Wall Texture and Temperature
Adhesives need smooth surfaces and moderate temperatures (roughly 50–105°F indoors per manufacturer guidance). Textured walls, fresh paint, wallpaper, and humid bathrooms are all bad candidates — choose a leaning or ledge method for those instead.
5. Hanging Valuables or Heavy Pieces on Adhesives Alone
Manufacturers caution against hanging irreplaceable or very heavy items with adhesive strips, and against hanging anything over a bed. Respect those warnings. For your most precious or largest pieces, leaning or a properly mounted ledge is the safer call.
Which Method for Which Wall?
- Smooth painted drywall: adhesive strips or hooks — the ideal surface.
- Tile, glass, or finished wood: adhesive strips work well; test first.
- Textured walls or brick: lean, prop, or use a ledge — adhesives cannot grip evenly.
- Wallpaper: avoid adhesives (they can peel the paper on removal); lean or use a tension system.
- Rental with strict rules: leaning and ledges are the safest bets — zero wall contact, zero risk.
- Humid rooms: moisture weakens adhesive bonds over time; choose leaning or mechanical methods.
Frequently Asked Questions
Will adhesive strips damage my walls when removed?
When removed correctly, quality adhesive strips come off cleanly. Peel the frame away from the wall strips first, then stretch each strip slowly straight down along the wall for 12–15 inches until it releases. Damage usually happens when strips are yanked outward or at an angle — slow and parallel is the key.
How long do adhesive strips last on the wall?
When applied correctly — clean surface, proper weight rating, full one-hour cure — adhesive strips can hold for years. Avoid humid environments, which can gradually weaken the bond, and check heavier pieces periodically. Follow the weight ratings on the package and add extra strips for a safety margin.
Can I hang a large, heavy canvas without nails?
Up to a point. Extra-large adhesive strips are rated around 20 pounds per four pairs, which covers many standard canvas prints. Beyond that, leaning the canvas or using a picture ledge is safer and looks intentional. For anything irreplaceable or very heavy, skip adhesives entirely.
What is the 57-inch rule I keep hearing about?
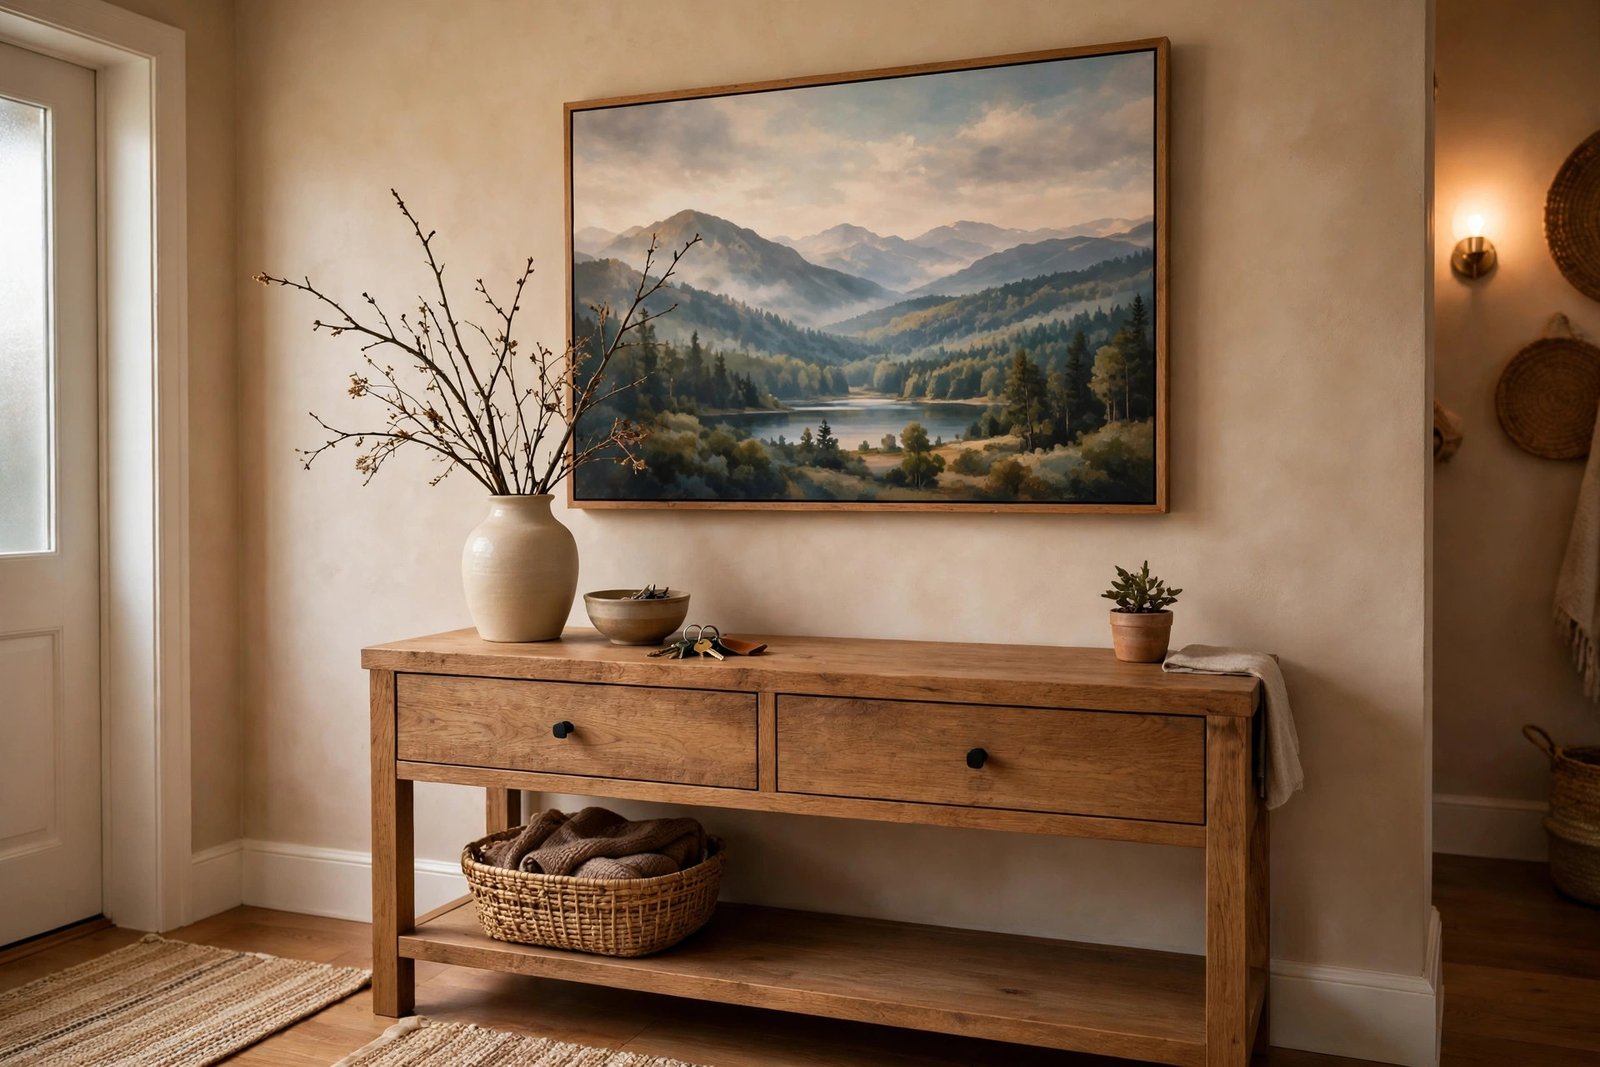
It is a gallery guideline: hang art so the center of the piece sits about 57 inches from the floor — roughly average eye level. It applies whether you use nails, strips, or a ledge, and it is the fastest way to make your canvas look professionally hung.
Final Thoughts
Hanging canvas art without nails is not a compromise — done right, it is simply a different technique with the same result. Clean the wall with rubbing alcohol, use more strips than you think you need, respect the one-hour cure time, and choose the method that fits your wall. Your art will stay up, your walls will stay pristine, and your security deposit will stay intact.
Still need the canvas itself? Browse the wall canvas collection at TimarSix and pick the piece your blank wall has been waiting for — then hang it tonight, no drill required.
0 Comments