
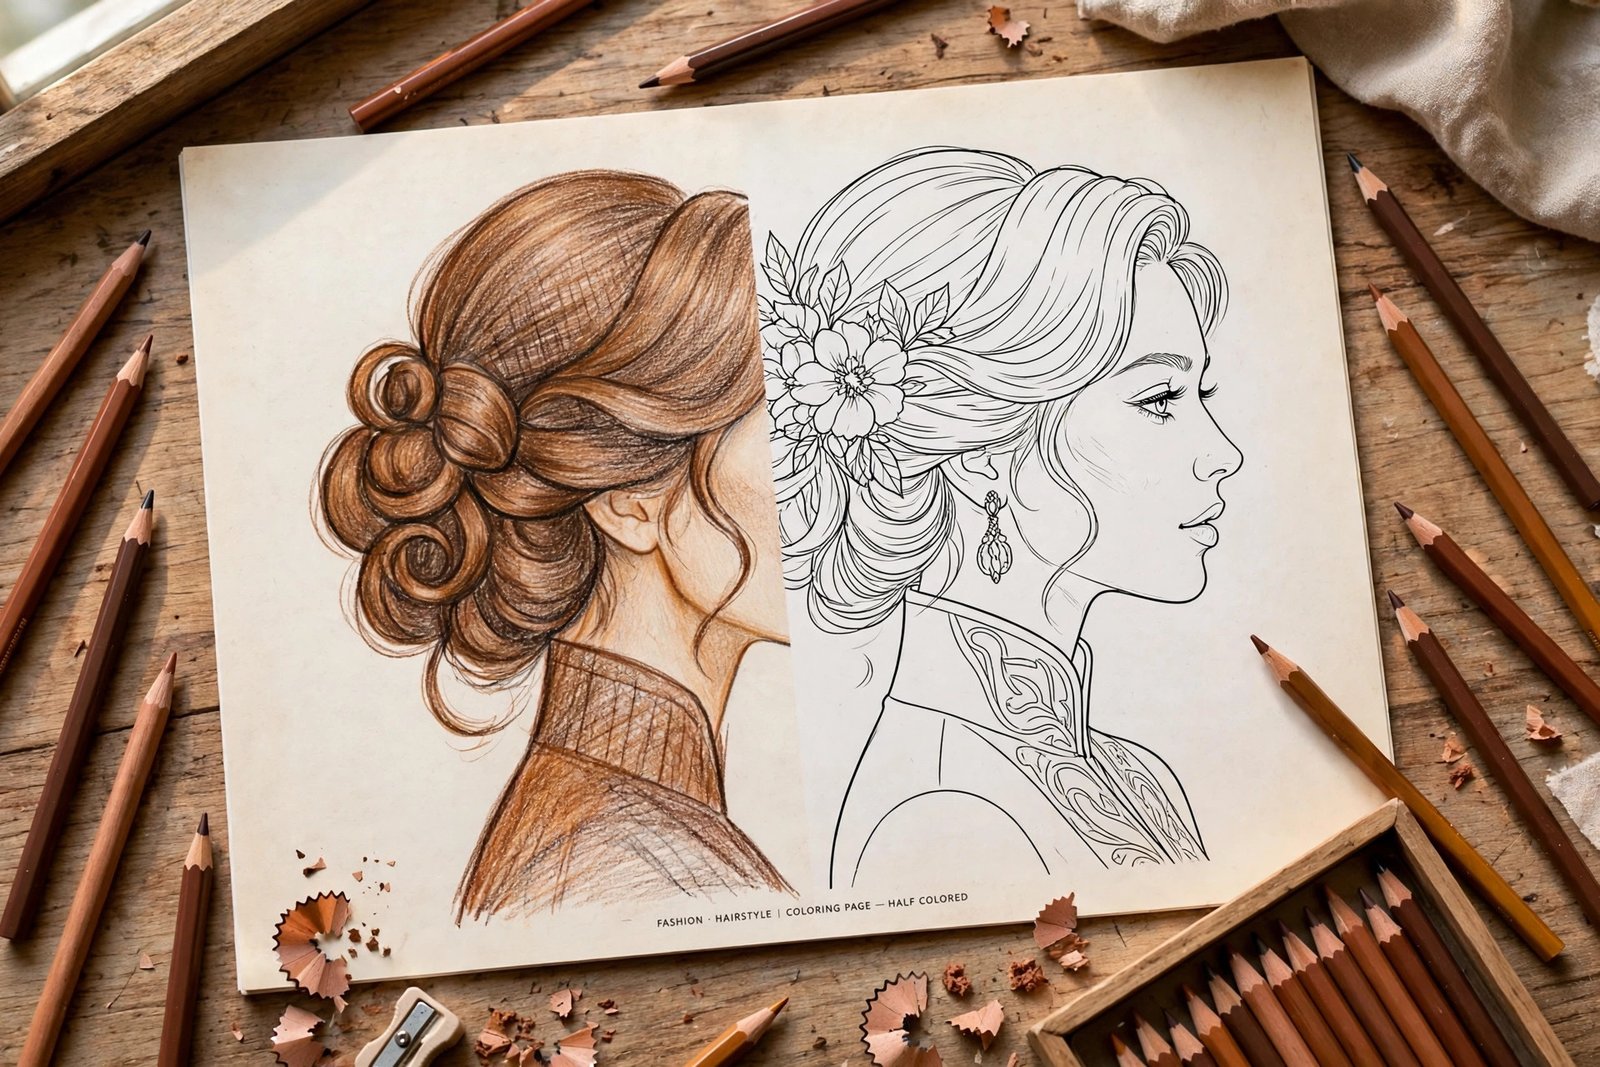
Hair can make or break a fashion coloring page. You can color a dress perfectly and shade the shoes with care, yet if the hair looks flat, muddy, or like a solid helmet, the whole figure feels unfinished. Hair is also the first thing most people notice on a fashion illustration, because it frames the face and sets the mood of the entire outfit. Learning how to color hair in fashion coloring books is therefore one of the highest-value skills you can build, and it is mostly technique, not talent.
Realistic hair is never one flat color. Even the darkest brunette has warm highlights, cool shadows, and strands that catch the light differently as they curve around the head. Even the lightest blonde has depth, with golden tones near the crown and softer, cooler tones underneath. Once you start seeing hair as a group of strands shaped by light, rather than a single shape to fill in, your pages will change fast. This guide walks you through the whole process: reading the hairstyle, choosing realistic shades, layering in the right order, adding highlights, and handling straight, wavy, curly, and styled hair with confidence.
If you want a book full of hairstyles to practice on, try the Fashion Coloring Book for Adults by Zira Vale on Amazon. It is filled with fashion-inspired illustrations for adults, including elegant dresses, casual outfits, accessories, shoes, handbags, hairstyles, seasonal looks, and decorative patterns, so you will find long waves, sleek bobs, curls, braids, and updos waiting on page after page. For a broader look at the craft, our how to color fashion illustrations guide covers faces, outfits, and finishing touches step by step.
Start by Reading the Hair Before You Color It
Before a single pencil touches the page, spend a minute studying the hairstyle. Where is the part? Which way does the hair grow from the crown? Where does it fall over the shoulders, tuck behind an ear, or sweep up into a bun? Fashion illustrations often show hair in motion, with strands that curve, flip, and layer over each other, and those lines are your map. If you color across the lines instead of along them, the hair will look stiff and confused, no matter how pretty your colors are.
Look for three things in particular. First, find the sections: the hair near the face, the hair at the crown, and the hair at the ends often behave differently, and treating them as separate sections keeps the style readable. Second, find the curves: every curl, wave, and flip has a top edge that catches light and an underside that falls into shadow. Third, find the edges: the hairline, the part, and the outline where hair meets skin or clothing. Those edges should stay crisp, because they are what make a hairstyle look intentional rather than fuzzy.
Pick Your Palette: Realistic Shades from Blonde to Deep Brunette
Choosing shades is where most hair pages succeed or fail. The safest approach is to pick three pencils for every hair color: a light, a medium, and a dark version of the same color family. For blonde, that might be a pale honey, a golden blonde, and a deeper caramel for shadows. For brunette, try a warm medium brown, a chocolate brown, and a deep espresso for the darkest areas. For black hair, skip pure black for the base and use a very dark brown or charcoal instead, saving true black only for the deepest shadows, because pure black alone tends to look flat and harsh.
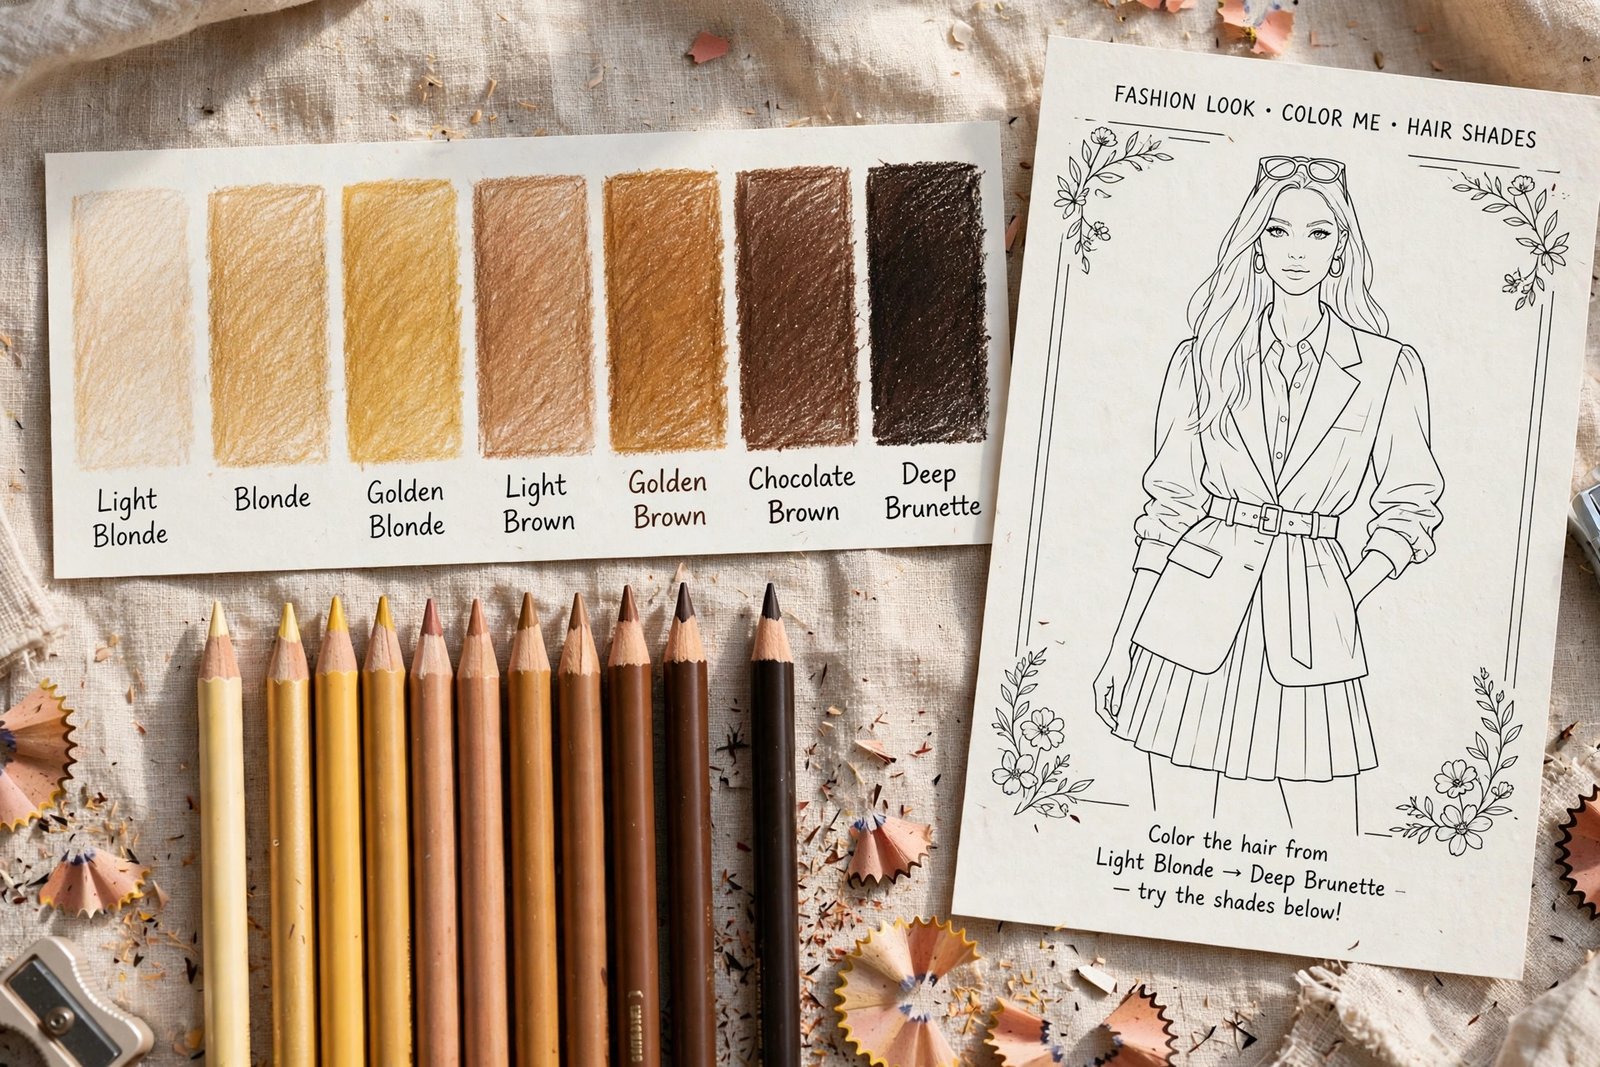
Always swatch before you color. Draw a small strip of each candidate pencil on scrap paper, layer them the way you plan to use them, and look at the result in good light. A pencil that looks like a perfect golden blonde in the tin can turn orange on the page, and a rich brown can turn dull if it clashes with the skin tones or the outfit. Swatching takes less than a minute and prevents the most common disappointment in hair coloring: a beautiful shade in your head that looks wrong on paper. If you are still building your pencil collection, our best fashion coloring books for adults roundup and our fashion coloring book guide are useful starting points.
Layer in Order: Base, Mid-Tone, Shadow, Then Highlight
The layering order matters more than the brand of pencil you use. Start with your lightest shade as an even base coat over the whole hairstyle, stroking in the direction the hair grows. Press lightly, because a heavy first layer fills the texture of the paper and leaves nowhere for later layers to grip. Think of this base coat as the sunlight in the hair: it should cover everything, even the areas that will later become dark, because it keeps the final color luminous instead of muddy.
Next, add your mid-tone over most of the hair, leaving the brightest areas near the crown and along the outer curves mostly base color. Then add your darkest shade only where shadows truly fall: underneath layers of hair, inside curls, behind the neck, and where hair tucks behind an ear. Finally, return to your lightest pencil and blend gently over the whole section, which softens the edges between layers and unifies the color. This light, medium, dark, light sandwich builds depth gradually instead of forcing it in one heavy pass.
Highlights That Look Like Light, Not White Streaks
Highlights are the difference between hair that looks painted on and hair that looks alive, but they are easy to overdo. The trick is restraint and placement. Real highlights follow the shape of the head: a band of light across the crown, a bright edge along the outer curve of a wave, and small bright spots where individual curls turn toward the light. They do not run in straight white stripes from root to tip, and they do not appear in every section at once. Pick one light source, usually from above and slightly to one side, and keep your highlights consistent with it throughout the hairstyle.
Coloring Straight Hair: Smooth, Sleek, and Shiny
Straight hair rewards long, smooth strokes and patience. Work in sections from the crown downward, stroking in one direction and keeping your pencil strokes as long and even as you can. Short, choppy strokes break up the sleekness and make straight hair look frizzy, even when the drawing itself is perfectly smooth. Keep your pencil sharp, because a dull point leaves wide, uneven marks that fight the clean lines of a straight style.
Shading on straight hair is mostly about the shape of the head. The crown is usually the lightest area, the sides fall slightly darker as they curve away from the light, and the underside near the neck is darkest. If the hair falls over the shoulders, add a soft shadow where it meets the clothing. For a sleek bob or a polished straight style, keep the outer edge crisp and the interior shading subtle. A single strong highlight sweeping from the crown down one side is often all a straight hairstyle needs to look glossy and finished.
Coloring Wavy Hair: Follow Every Curve
Wavy hair is where many colorists start to have real fun, because each wave gives you a built-in pattern of light and shadow. The rule is simple: color along the wave, not across it. Each wave has a raised crest that catches the light and a dip that falls into shadow, so alternate your pressure and your shade as you follow the curve. Lighten up on the crest, press a little more firmly in the dip, and let the wave itself guide your hand. If you keep the same shade and pressure through the whole wave, the hair will look flat, no matter how accurate your color choice is.
Coloring Curly Hair: Curls Are Shapes, Not Scribbles
Curly hair becomes much easier once you see each curl as a shape with its own highlight and shadow. A single curl is like a small tube or ring: the outer edge catches light, the inner curve falls into shadow, and the space between curls is often the darkest area of all. Instead of scribbling randomly inside the curl mass, color curl by curl, giving each one a light side and a dark side. This takes a little longer, but the result is curls that look bouncy and distinct instead of a tangled blur.
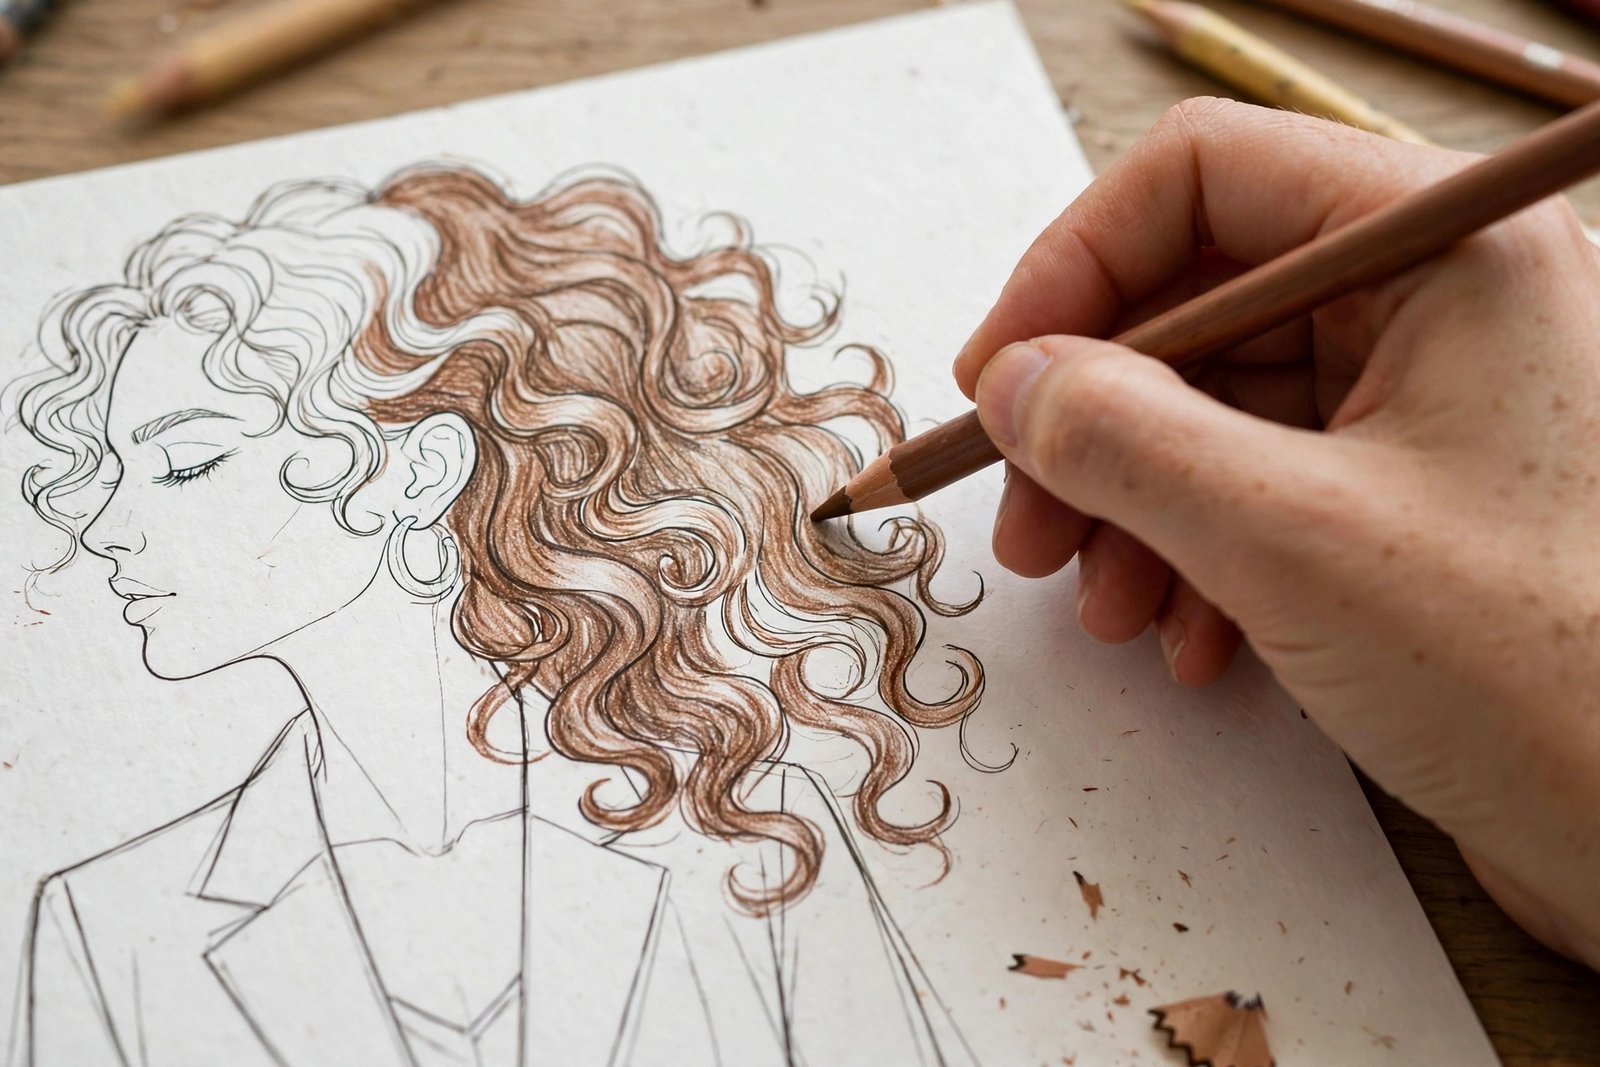
For tight curls, use short strokes that follow the curl’s curve, and keep your pencil sharp so the small shapes stay readable. For loose curls and ringlets, use longer strokes and leave more breathing room between curls, because the gaps give the style air. The darkest shadows in curly hair sit deep inside the curl clusters, near the scalp, and underneath the outer layer of curls. Resist the urge to darken everything evenly. Keep the outer curls lighter and brighter, let the inner curls carry the depth, and the whole hairstyle will spring to life.
Hairstyles That Change the Whole Page: Buns, Braids, and Ponytails
Once you can handle loose hair, styled hair is the next skill, and it changes the whole feeling of a fashion page. A high bun reads elegant and formal, a braid reads romantic and detailed, and a ponytail reads sporty and fresh, even before you color the outfit. The key to every styled look is the same: respect the structure. A bun is a rounded shape with shading that wraps around it like a ball, darkest at the bottom and lightest at the top. A braid is a repeating pattern of overlapping sections, each one slightly darker where it tucks under the next. A ponytail has a clear gathering point, with hair pulling toward it and then falling away in a smooth tail.
Fix Common Hair Coloring Mistakes Before They Spoil a Page
Almost every hair coloring problem has a simple fix, and most of them come from the same few habits. Coloring too hard on the first layer is the biggest one: it fills the paper texture, blocks later layers, and turns the hair waxy and patchy. If your hand is tired, you are pressing too hard. Coloring in random directions is another common trap, so always stroke in the direction the hair grows, even when it feels slower. Using only one pencil for a whole hairstyle makes hair look flat, so use at least three related shades for every major section, light, medium, and dark, and blend them gently at the end.
Your Next Hair Coloring Page Starts Now
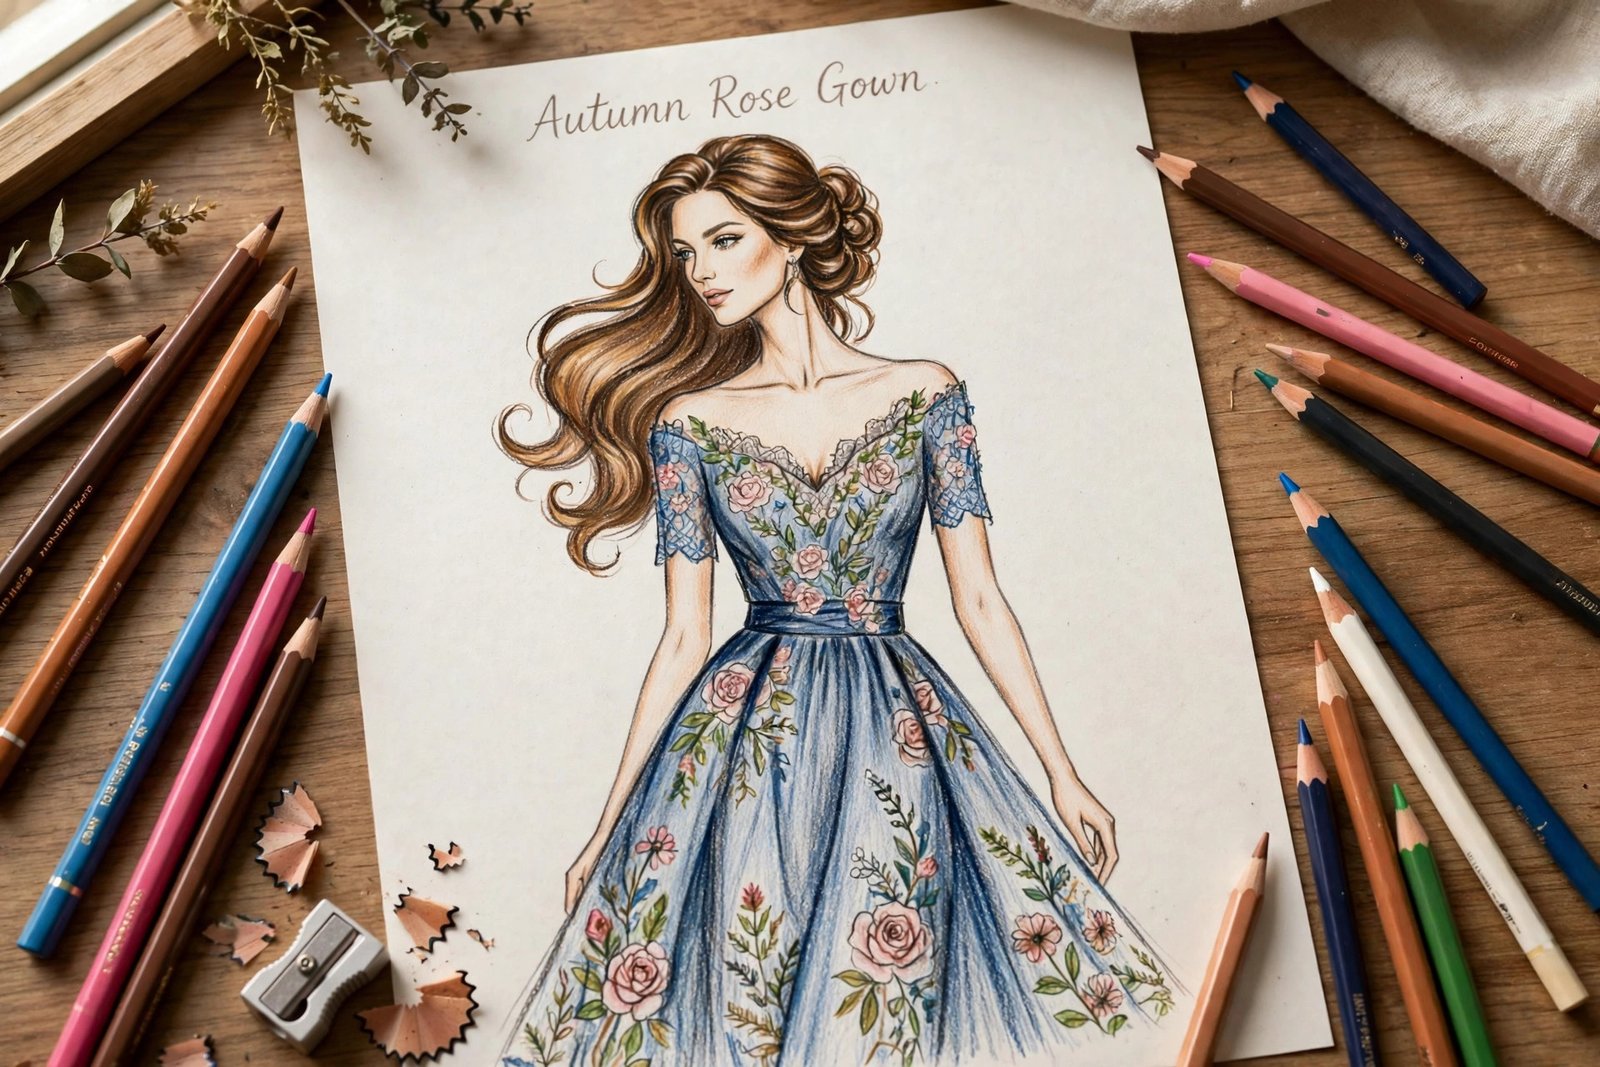
Coloring hair in fashion coloring books comes down to a handful of habits you can practice on any page: read the hairstyle first, choose three related shades, layer light to dark and back to light, place highlights where the light truly falls, and follow the direction of every strand. Straight hair needs smooth, even strokes. Wavy hair needs you to follow each curve. Curly hair needs each curl treated as its own small shape. Styled hair needs you to respect the bun, the braid, or the ponytail as a structure. Practice those habits one page at a time, and your tenth hair coloring page will look noticeably better than your first. For more ideas, browse our fashion coloring book for adults feature.
Ready to practice? Pick up the Fashion Coloring Book for Adults by Zira Vale on Amazon and try the layering method on your next hairstyle tonight. Its fashion-inspired illustrations, from elegant dresses and casual outfits to accessories, shoes, handbags, hairstyles, seasonal looks, and decorative patterns, give you a fresh hairstyle challenge on every page. You can also explore all of Zira Vale’s books on her Amazon author page if you want more coloring and puzzle books for different moods. And for more fashion coloring ideas, revisit our how to color fashion illustrations guide whenever you want a refresher.

0 Comments