
There is a special kind of satisfaction that comes from closing a puzzle book and knowing you solved the case yourself. No search engine, no answer key peeking, just you, a pencil, and a trail of clues that finally clicked into place. If you have ever picked up a murder mystery puzzle book, stared at the first case, and wondered where on earth to begin, this guide is for you.
Learning how to solve a murder mystery puzzle is easier than it looks. You need a simple method, a little patience, and a willingness to slow down and read the clues. By the end of this guide, you will have a step-by-step process for your first case. If you are ready to begin, you can browse Zira Vale’s murder mystery puzzle books on Amazon and pick the one that sounds most fun to you.
What a Murder Mystery Puzzle Actually Is
Before you solve anything, it helps to know what you are looking at. A murder mystery puzzle is a story told in clues. Something has happened — a theft, a disappearance, or, in the classic setup, a murder — and a cast of suspects each has a motive, an opportunity, and an alibi. Your job is to sort the truth from the misdirection and name the culprit, usually by answering a set of questions at the end of the case: Who did it? How? And why?
These puzzles come in several formats. Some are logic grid puzzles, where you cross-reference suspects, weapons, locations, and times in a grid until only one combination fits. Others are whodunit stories, where you read a short scene and spot the detail that gives the culprit away. Still others are word searches with a mystery twist, where finding hidden words reveals the next clue. If you are not sure which style suits you, this comparison of whodunit puzzles versus logic grid puzzles will help you choose. The method below works for nearly all of them. One reassuring fact: a good mystery puzzle is fair. Every clue you need is somewhere in the case.
Step 1: Read the Whole Case Before You Touch a Pencil
This is the step beginners skip most often, and it matters most. When you open a new case, resist the urge to start filling in answers right away. Read the entire case from start to finish first, slowly, the way you would read the opening chapter of a novel. Let the scene form in your mind: the room, the people, the timeline. On this first read, do not try to solve anything — just absorb the story.
Then read it a second time with pencil in hand. Underline every hard fact: names, times, places, objects, and anything a character claims to have seen or done. These facts are your raw material. Hunches and favorite suspects can wait. Facts first, theories second.
Step 2: Make Your Suspect and Clue Lists
Once you have read the case twice, grab a blank page or use the notes space in your book and make three simple lists. First, a list of suspects, with a line or two about each person: who they are, how they connect to the victim, and what they say they were doing when it happened. Second, a list of places and objects that keep coming up: rooms, keys, letters, vehicles, anything that appears more than once. Third, a list of clues — every fact that could point toward or away from a suspect.
Keep these lists short and plain — a workspace to glance at while you solve, not an essay. This step also protects you from the most common beginner trap: locking onto one suspect too early. When you write every suspect down, you treat them all fairly. The quiet neighbor, the helpful friend, the person who seems obviously innocent — they all stay on the board until the clues remove them. A good detective follows the evidence and lets it pick the culprit.
Step 3: Build Your Logic Grid
Here is where the puzzle starts to feel like detective work. A logic grid is a simple chart that lets you compare two sets of information at a glance — for example, suspects down one side and locations across the top. Each time a clue tells you that a particular suspect could not have been in a particular place, you mark that box out. Each time a clue confirms a match, you mark it in. Slowly, the impossible combinations disappear, and the true ones stand out.
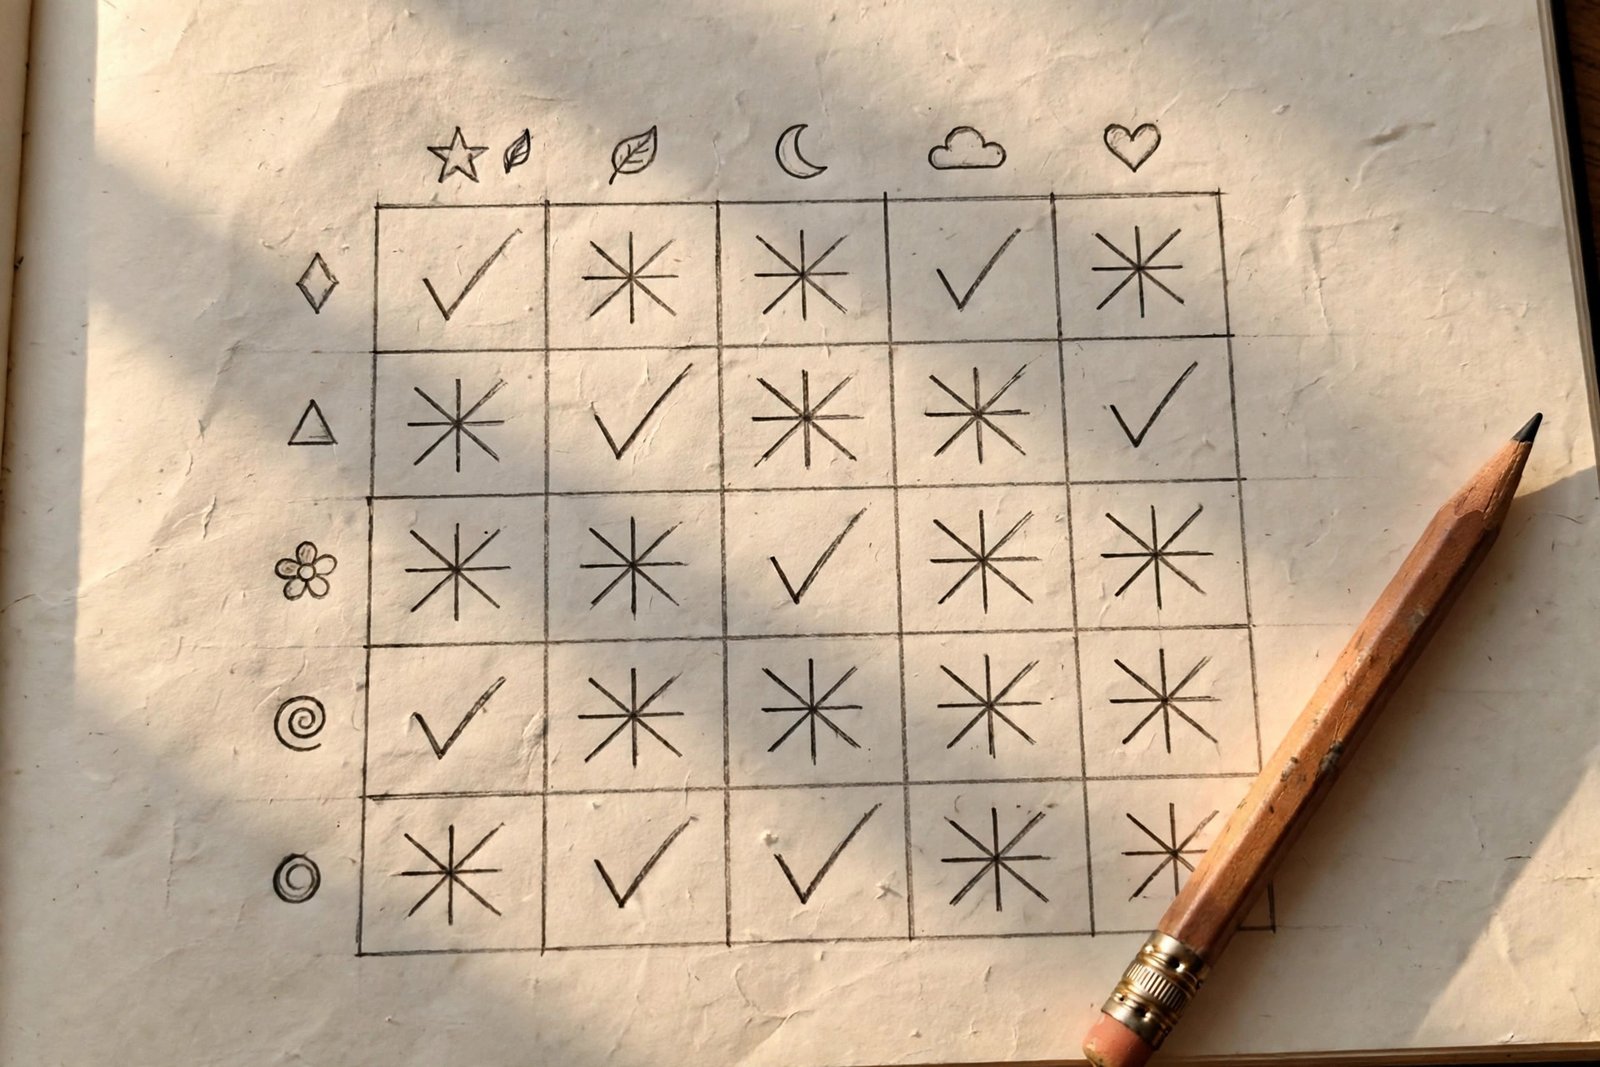
If your book already includes a grid, use it. If it does not, draw your own on scrap paper — a few ruled lines and clear labels will do. The point is not beautiful handwriting; it is giving your brain a place to store what you have proven so far. New to grids? This introduction to logic grid puzzles for beginners covers the symbols and basic moves. Once you have done one grid puzzle, the system clicks.
Step 4: Work Through the Clues One at a Time
Now comes the satisfying part. Go back to the case and take the clues one at a time, in the order they appear. For each clue, ask yourself three questions. What does this clue actually say? What does it rule out? What does it confirm? Then record the answer in your grid or your notes before moving on to the next clue.
Work slowly and in order. Beginners often jump to the most dramatic clue — the broken window, the mysterious letter — and try to build the whole solution around it. That is backwards. The small, boring clues are often the ones that quietly eliminate half the suspects. Also re-read each clue in context: a witness who says, “I saw her leave at eight,” is giving you a fact, while a suspect who says, “I would never do that,” is giving you an opinion — and in a mystery, opinions are the least reliable evidence of all.
Step 5: Test Your Suspects, One by One
After you have worked through the clues, you will usually have a short list of suspects who are still standing. Now test each one against the three classic detective questions: motive, means, and opportunity. Did this person have a reason? Did they have access to what was used? Were they in the right place at the right time? A strong solution answers all three. If your favorite suspect has a great motive but could not possibly have been there, the clues are telling you to look elsewhere, no matter how guilty that character seemed at first.
Try the elimination test, too. Pick a suspect and ask: if this person did it, does every clue still make sense? If even one solid clue contradicts that theory, the theory is wrong, or at least incomplete. Go back to your grid, find the contradiction, and see which other suspect fits better. Often, the moment a wrong theory collapses, the right one becomes obvious — and that “aha” moment is exactly why these puzzles are so addictive.
Step 6: Use Hints the Smart Way
Getting stuck is part of solving, not a sign of failure. Before you look at a hint, spend a few more minutes on the case. Re-read the clues, check your grid for a wrongly marked box, and ask which single piece of information would unstick you.
When you do use a hint, take only the smallest one available. Many puzzle books offer hints in stages, from a gentle nudge to a near-spoiler. Start with the gentlest hint and stop as soon as you can move forward again. Using a hint does not ruin the puzzle — it teaches you, and next time you meet a similar clue pattern, you will recognize it on your own.
Step 7: Solve It, Then Check Your Reasoning
When you think you have the answer, do not rush to the solution page. Write your solution down first: who did it, how they did it, and why, in two or three sentences. This forces you to turn a vague feeling into a testable claim. If you cannot explain the “how” and the “why,” you may have the right person for the wrong reason — or the wrong person entirely — and your written answer will show you where the gap is.
Then check your reasoning against your grid and clue lists. Does every confirmed clue fit your solution? Is there any clue you ignored because it did not fit? Treat a misfit as a warning sign and re-check the clue. Only then, turn to the solution and compare. If you got it wrong, read the explanation and find the exact clue or deduction you missed. That missed step is the lesson that makes your next solve stronger.
Common Beginner Mistakes to Avoid
Most first-time solvers stumble in the same few places. The first mistake is trusting the loudest character: the person who insists most strongly on their innocence, or points the finger hardest at someone else, is often worth a second look. Let the clues judge, not the volume. The second mistake is ignoring the timeline. Write down the order of events, even roughly — many cases are solved by a simple timing impossibility.
The third mistake is solving in your head instead of on paper. Your memory will drop details; your notebook will not. The fourth mistake is peeking at the answer too soon. Give yourself a real chance — a full session, a fresh look the next day, or a single gentle hint — before you turn to the solution. The solve you work for is the one you remember.
Choosing Your First Murder Mystery Puzzle Book
Once you know the method, the next question is where to practice it. A good first book is one that starts gently and builds your confidence case by case, with clear grids, fair clues, and hints for the moments you get stuck. Zira Vale’s puzzle books are built exactly that way, and each one offers a different flavor of mystery solving.
If you love scene-based deduction, start with The Scene Keeps Secrets, which packs 80 cases built around scene plans, logic grids, and hints — a great match for the method in this guide. For a pure grid challenge, The Guilty Square offers 80 room-grid cases with 2 hints per case. Prefer variety? When Clues Accuse serves up 90 puzzles across 8 deduction formats. And if word puzzles are your comfort zone, One Word from Murder offers 100 word searches across 3 difficulty levels. Curious how that format works? This guide to how murder mystery word searches work explains the twist.
Setting Up Your First Solving Session
Solving is better with a little ritual. Pick a quiet spot where you will not be interrupted for at least thirty minutes: a comfortable chair, good light, a pencil with an eraser, and a few sheets of scrap paper. A warm drink nearby helps, too — a relaxed brain notices more than a rushed one.
Choose an easy first case on purpose. Most puzzle books arrange their cases from gentler to harder, and starting at the front lets the book teach you its style. Set a time limit, too: thirty to forty-five minutes is plenty. If you are still stuck, take one gentle hint or return to the case tomorrow — a fresh brain often spots in seconds what a tired brain missed for half an hour.

Your First Case Tonight: A Simple Plan
Here is your complete beginner plan, all in one place. First, read the whole case twice, underlining hard facts on the second pass. Second, list your suspects, places, and clues on a blank page. Third, build or fill in your logic grid. Fourth, work the clues one at a time, marking what each one rules out or confirms. Fifth, test your remaining suspects against motive, means, and opportunity. Sixth, use the smallest hint available if you get stuck. Seventh, write your solution down and check it against your notes before you peek at the answer.
That is the whole method. It is not magic. It is a habit: read carefully, write things down, eliminate what cannot be true, and trust what remains. So tonight, pick a case, make yourself comfortable, and give it a real try. Your first solve is not a test — it is an invitation.
Ready to start? Browse all of Zira Vale’s murder mystery puzzle books on Amazon and choose your first case: The Scene Keeps Secrets, the room-grid challenges of The Guilty Square, the eight-format variety of When Clues Accuse, or the word-search mysteries of One Word from Murder. Pick one, open it to the first case, and enjoy the most satisfying kind of evening: the one where you solve the mystery yourself.



0 Comments