
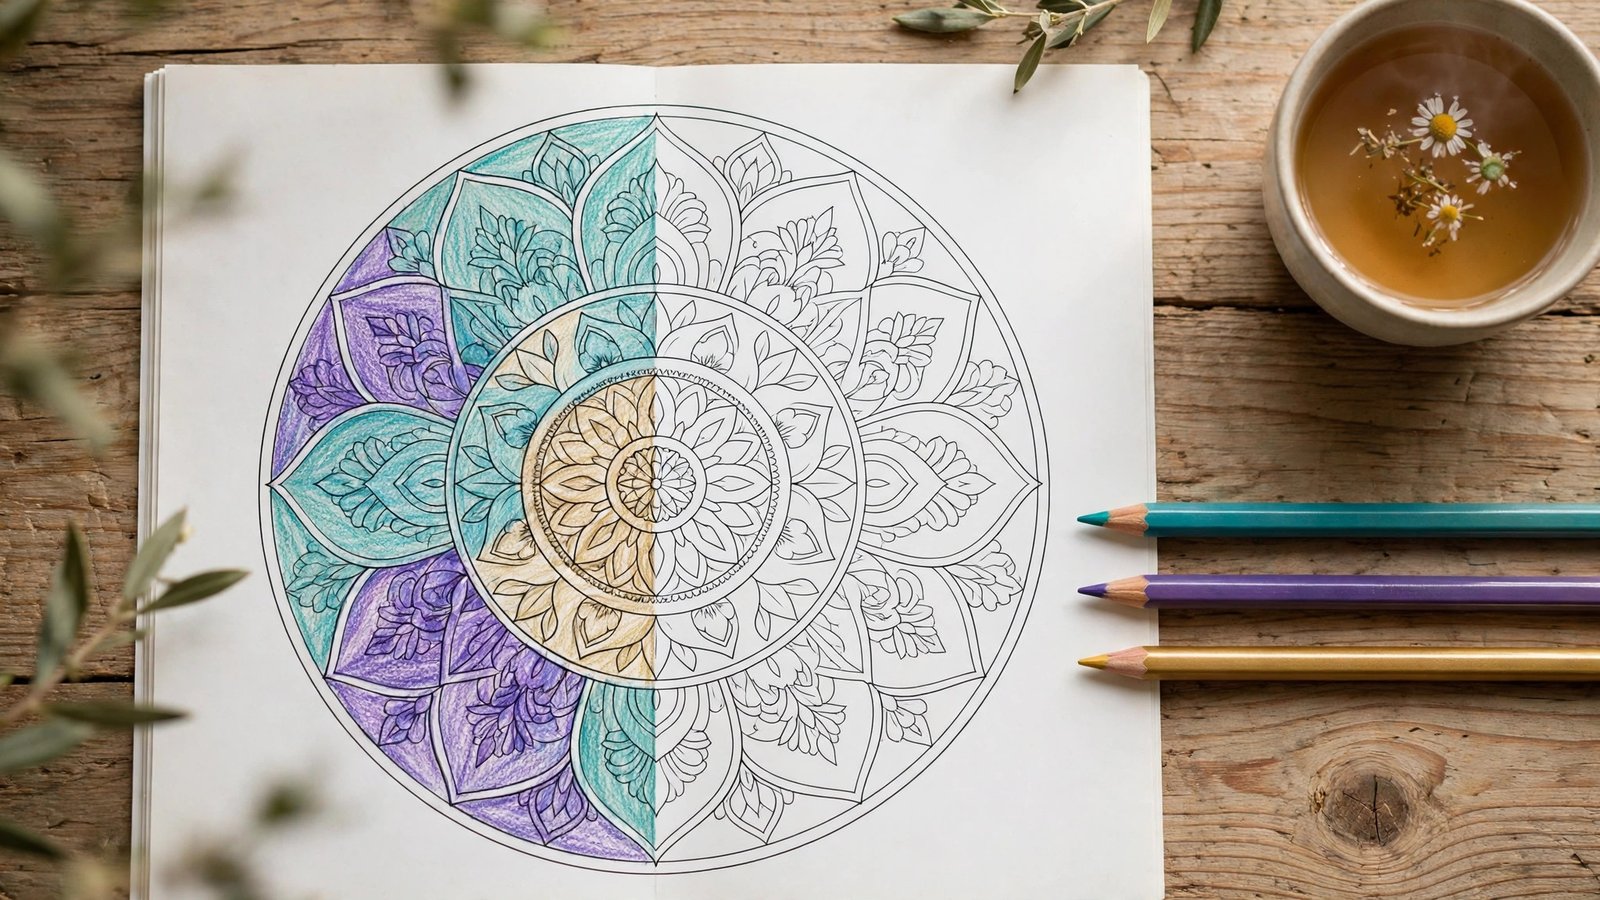
A finished mandala can look almost too perfect to attempt. All those rings of petals, dots, and repeating shapes seem to demand a steady hand, an artist's eye, and a flawless color sense. So if you have ever opened a mandala coloring book, stared at the first page, and quietly closed it again, you are in very good company.
Here is the reassuring truth: a mandala is one of the most beginner-friendly designs you can color, precisely because it is built on repetition. You never have to invent anything. The pattern tells you what to do next, and once you learn a few simple habits, the page starts to come together almost on its own. This guide walks you through how to color mandalas step by step, from choosing your tools to adding the final touches, so your first finished piece looks balanced, calm, and genuinely satisfying.
How to Color Mandalas Step by Step
You do not need dozens of supplies or advanced art skills. You need a simple system. Follow these seven steps in order and even a very detailed design becomes a series of small, easy decisions.
Step 1: Pick Your Tools
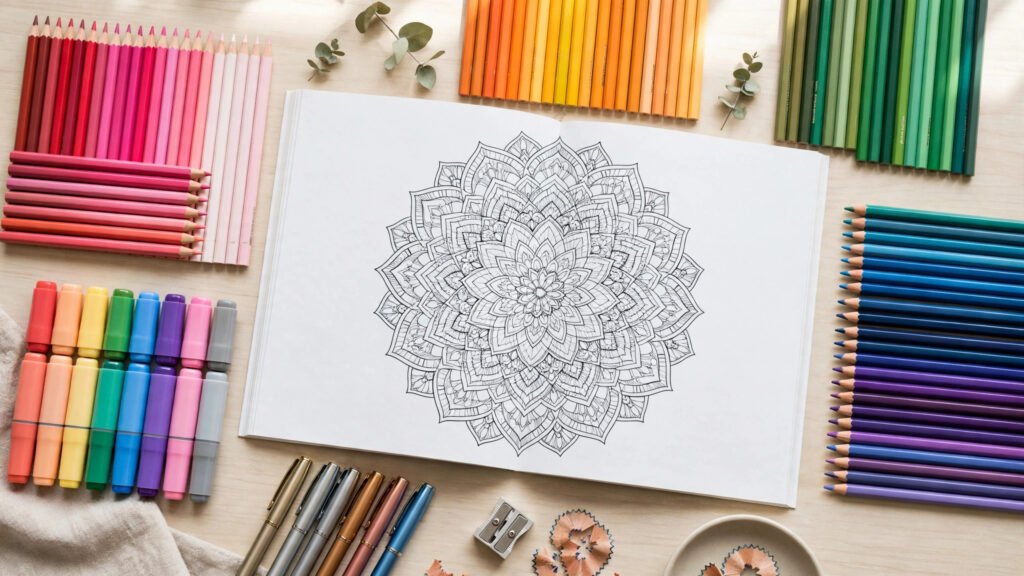
Start with whatever you already own. Colored pencils are the most forgiving choice for a first mandala because they are dry, controllable, and easy to layer. Markers give you bold, smooth color but can bleed through thinner paper. Gel pens are wonderful for tiny details and a little shimmer. Pick one main tool for your first page instead of switching constantly, and keep a sharpener and an eraser nearby if you are using pencils. Comfort matters more than brand names at this stage.
Step 2: Choose a Palette of 3 to 5 Colors
The single biggest beginner mistake is using every color in the box. A mandala colored with twenty random shades looks busy, while one built on three to five colors looks intentional. Before you touch the page, line up your palette. An easy formula is two main colors, one or two supporting colors, and one accent for tiny details. Not sure where to start? Analogous colors that sit next to each other on the color wheel, like teal, green, and blue, almost always look harmonious. Complementary pairs, such as purple and yellow, create more energy and contrast.
Step 3: Start at the Center
Mandalas are designed to grow outward from a central point, so color them the way they are built. Beginning in the middle anchors your palette early, when the shapes are small and mistakes are barely noticeable. It also gives the whole design a clear focal point. Many colorists make the center the darkest or most saturated area and let colors soften as they move outward, which creates a gentle sense of depth. Whatever you choose, finishing the center first makes the rest of the page feel far less intimidating.
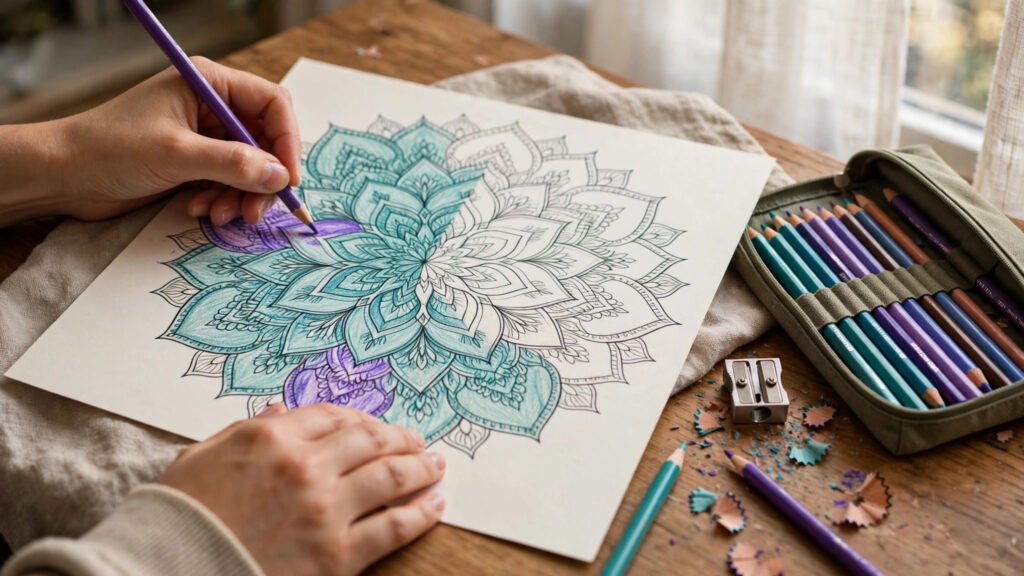
Step 4: Work in Sections
Never try to finish a whole ring of thirty identical petals one after another around the full circle in random order. Instead, treat the mandala as a series of layers. Complete one full ring or shape type before moving on. This keeps your pressure and color consistent, and it turns a huge design into a checklist of small wins. If your attention fades, stop at the end of a section rather than mid-ring, so you can pick up exactly where you left off.
Step 5: Repeat Colors for Symmetry
Symmetry is the secret behind every polished-looking mandala. When the same shape appears on opposite sides of the design, give it the same color. This repetition is what makes the finished piece look woven and balanced instead of patchy. A simple method is to work in pairs: color a shape, then immediately color the matching shape across the center. You do not have to keep a perfect count. Even loosely repeating your palette in the same order around each ring creates a rhythm the eye reads as harmony.
Step 6: Add Shading and Highlights
Once your flat colors are down, a little shading makes the design feel three-dimensional. With colored pencils, simply press a bit harder toward the base of each petal or the inner edge of a shape, and lighten your pressure toward the tip. You can also layer a slightly darker shade of the same color family along one edge. Add highlights by leaving a tiny sliver of the paper uncolored, or dot the smallest details with a white or metallic gel pen at the very end. Keep it subtle; a mandala needs only a hint of depth.
Step 7: Finish and Review
When you think you are done, put the page down, walk away, and come back with fresh eyes. Hold it at arm's length. From a distance you will spot the things you miss up close: a missed dot, one petal colored in the wrong shade, or an area that feels too heavy. Fix those small details, outline any final accents with gel pen if you like, and then stop. Knowing when a mandala is finished is a skill too, and overworking a good page is a real risk.
Colored Pencils vs. Markers vs. Gel Pens
There is no single best tool for mandala coloring. Each one changes the experience and the result, and many colorists eventually use a mix of all three.
Colored Pencils
- Best for beginners, blending, and soft shading
- No bleed-through, so they are safe on almost any page
- Slower coverage on large areas, and tips need regular sharpening
Markers
- Best for bold, flat, saturated color and large shapes
- Fast and smooth, with no pencil strokes showing
- Can bleed through the page, so always slip a scrap sheet of paper behind the page before you start
Gel Pens
- Best for tiny details, dots, outlines, and metallic or glitter accents
- Opaque colors show up beautifully on top of pencil or marker
- Slow for filling large areas, and ink needs a moment to dry to avoid smudging
A practical approach: lay down your main colors with pencils or markers, then return with gel pens only for the finishing details. That combination gives you control where you need it and sparkle where you want it.
Common Beginner Mistakes (and How to Avoid Them)
- Using too many colors. Limit yourself to three to five per mandala. It is the fastest upgrade you can make.
- Pressing too hard, too soon. Heavy pressure from the start leaves waxy streaks and makes layering impossible. Build color up in light layers instead.
- Coloring shapes in a random order. Jumping around the page breaks symmetry. Work ring by ring and match shapes across the center.
- Forgetting the bleed-through test. If you use markers, test one on a corner or spare page first, and always place a protective sheet behind your page.
- Judging the page halfway through. Almost every mandala looks awkward at the fifty-percent mark. The balance only appears when the final ring is done, so finish before you judge.
- Rushing. Mandala coloring is a slow, screen-free hobby. The calming effect people describe when they talk about the relaxing benefits of mandala coloring comes from the unhurried rhythm itself, not from racing to the last petal.
If you enjoy floral designs as well, many of these same habits, especially palette planning and layering, transfer directly to botanical pages. You can see them applied in these flower coloring ideas and palettes for adults.
Frequently Asked Questions
Should I color a mandala from the center out or from the outside in?
Center out is the easiest approach for most beginners. It sets your palette early, gives the design a strong focal point, and lets you build symmetry ring by ring. Coloring from the outside in works too, but the center then has to match everything around it, which is a harder decision to make at the end.
How many colors should I use in one mandala?
Three to five is the sweet spot for a cohesive result. That is enough variety to keep the pattern interesting and enough repetition to keep it balanced. As you gain confidence, you can add a sixth accent color for the smallest details, but a limited palette will almost always look more polished than a rainbow.
What if I make a mistake in the middle of a mandala?
Do not abandon the page. Most mistakes can be absorbed into the pattern: repeat the same "mistake" on the matching shapes around the design and it becomes a deliberate variation. Small slip-ups can often be lightened with an eraser if you used pencils, covered with an opaque gel pen, or hidden under a darker shade. Finished imperfectly beats abandoned perfectly, every time.
Ready to Practice?
You now have the whole system: choose simple tools, commit to a small palette, start at the center, work in rings, repeat colors for symmetry, and add a whisper of shading at the end. The only thing left is a page to practice on. If you would like a book of designs to work through as you build these habits, take a look at the Mandala Coloring Book by Zira Vale on Amazon. Pick your first palette of three colors, start in the very center, and let the pattern do the rest. Your first finished mandala is closer than you think.
More Books by Zira Vale
Zira Vale writes coloring books and puzzle books for adults who love a creative, screen-free break. You can browse and buy all of her books in one place on her Amazon author page: See all books by Zira Vale on Amazon.
0 Comments