
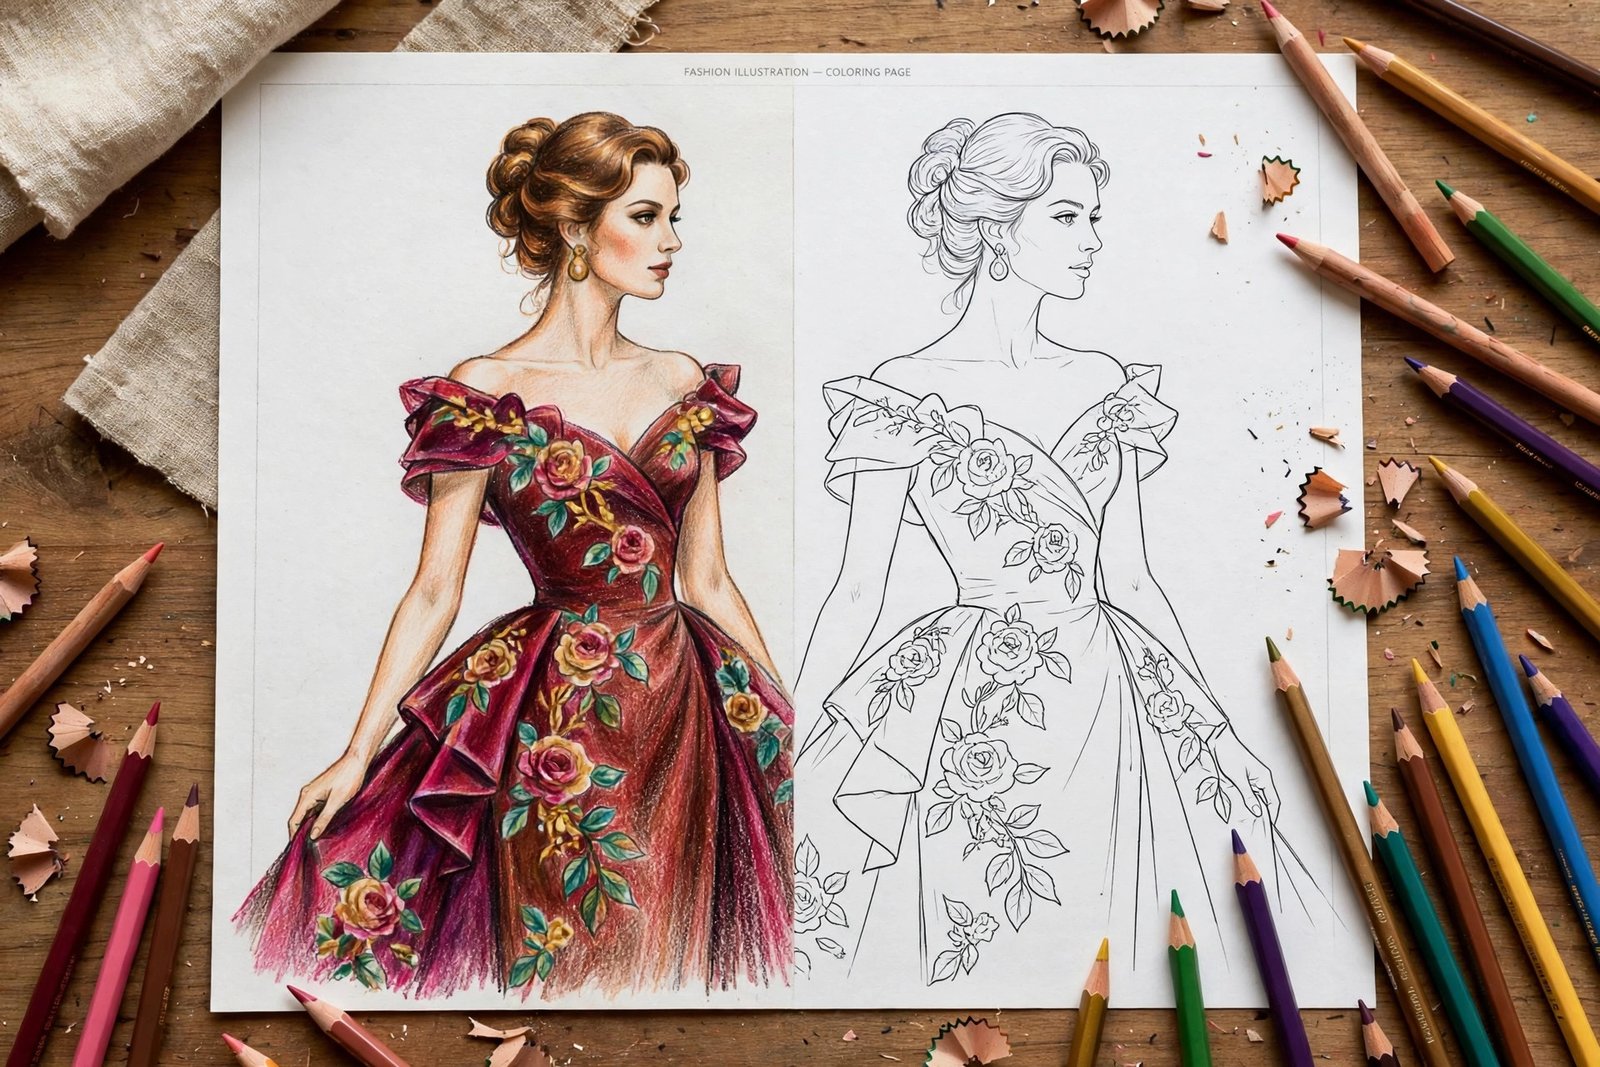
You have just opened a fashion coloring book, and the first page is staring back at you: an elegant woman in a flowing dress, with delicate shoes, a handbag, and a hairstyle full of curls and detail. You pick up the first pencil you find in the drawer, and the color comes out streaky, pale, and nothing like the rich, smooth fashion illustrations you admire online. If that sounds familiar, the problem is almost certainly not your talent. It is your pencils.
Fashion coloring asks more of your pencils than most coloring does. A single illustration might contain bare arms and a face, a patterned dress, shoes, a handbag, jewelry, and a hairstyle, all in one small scene. Skin has to look like skin, not orange plastic. A silk dress has to shine, a wool coat has to look cozy and soft, and a tiny handbag has to read clearly even though it is only an inch tall on the page. The right pencils make all of that possible.
This guide covers the best colored pencils for fashion coloring books: wax versus oil pencils, the brands worth your attention, skin tones, fabric shading, and a simple layering routine that turns flat color into smooth, rich results. You do not need the biggest set on the shelf. You need the right handful of pencils and a few techniques anyone can learn in an evening.
If you want a beautiful book to practice in, take a look at the Fashion Coloring Book for Adults by Zira Vale on Amazon. It is filled with fashion-inspired illustrations for adults, including elegant dresses, casual outfits, accessories, shoes, handbags, hairstyles, seasonal looks, and decorative patterns, so every technique in this guide has a page waiting for it. If you want to compare books first, our best fashion coloring books for adults roundup will help, and our fashion coloring book guide is a great starting point for the hobby as a whole.
Why Fashion Coloring Needs Different Pencils
A good colored pencil lays down pigment smoothly, blends with the pencil next to it, and lets you build color slowly in layers. A cheap, hard pencil skips across the paper, leaves white speckles, and refuses to blend, so your dress ends up looking patchy no matter how carefully you color. The difference is obvious the moment you try them side by side, and it is the single biggest reason beginners think they are bad at coloring when they are actually just using the wrong tools.
Layering is the key skill, and pencils are the lever you control first. Most adult coloring books use paper that can handle several light layers of pencil, and that layering is exactly where the magic happens. A beginner who learns to layer gently with decent pencils will quickly out-color someone pressing hard with a bargain set. So before you buy anything else, get the pencil question right.
Wax vs Oil: The Big Choice for Beginners
Almost every colored pencil falls into one of two families: wax-based or oil-based. Understanding the difference is the fastest shortcut to choosing well, because the two types feel different in your hand and behave differently on the page.
Wax-based pencils, the most famous being Prismacolor Premier, have a soft, creamy core. They lay down color quickly and richly, blend beautifully, and are wonderful for the smooth skin tones and flowing fabrics that fashion coloring demands. Their softness is also their weakness: the cores break more easily if you drop them or press too hard, and heavy layering can build up a waxy shine called wax bloom, a cloudy film that dulls your finished page. A light touch solves most of this.
Oil-based pencils, led by Faber-Castell Polychromos, have a harder, drier core held together with oil instead of wax. They hold a sharp point longer, which is a real advantage for the tiny details on a fashion page: eyelashes, jewelry, shoe buckles, handbag clasps, and the fine lines of a decorative pattern. They layer cleanly without wax bloom, and they erase a little more easily when you make a mistake. The trade-off is that they can feel less creamy at first, and building a deep, rich color takes an extra layer or two.
So which should a beginner choose? Either family can carry you a long way, and many experienced fashion colorists keep both on their desk. If you love smooth blending and dreamy skin tones, start with wax-based pencils. If you are drawn to crisp details and clean layering, start with oil-based pencils. What matters most is quality: a set of 24 to 36 good pencils beats a set of 120 scratchy ones, because you will actually reach for the good ones.
The Best Colored Pencils for Fashion Coloring Books
For smooth blending and rich color, Prismacolor Premier soft-core wax pencils are the classic recommendation. Their creamy cores glide across the page, layer into each other with almost no effort, and produce the deep, saturated reds, teals, and purples that make evening gowns and statement outfits pop. If your favorite pages are elegant dresses and dramatic seasonal looks, a wax-based set will make those fabrics glow. Just keep a light hand and sharpen gently.
For fine detail and clean layering, Faber-Castell Polychromos oil-based pencils are the other classic choice. Their firm points stay sharp through an entire handbag or a whole head of hair, so tiny details stay crisp instead of turning muddy. They are also excellent for layering many thin coats, which is exactly how you build realistic fabric shading: a pale base, a mid-tone in the folds, and a deeper tone only where the shadow is darkest.
For beginners on a budget, you do not need to start at the top of the range. A smaller set of 24 or 36 pencils from either brand above, or a well-reviewed mid-range set, covers every color family you need: a few skin tones, a red, a pink, a blue, a green, a purple, a yellow, a brown, a gray, and a black. You can always add individual pencils later in the exact shades you run out of, which is much smarter than buying a giant set where half the pencils never leave the tin.
Skin Tones: The Make-or-Break Skill
Ask any fashion colorist what they struggled with first, and most will say the same thing: skin. A dress can be any color you like, but skin has to look believable, and the difference between natural and unnatural is only a few shades. The good news is that believable skin is a technique, not a talent, and it comes down to three habits.
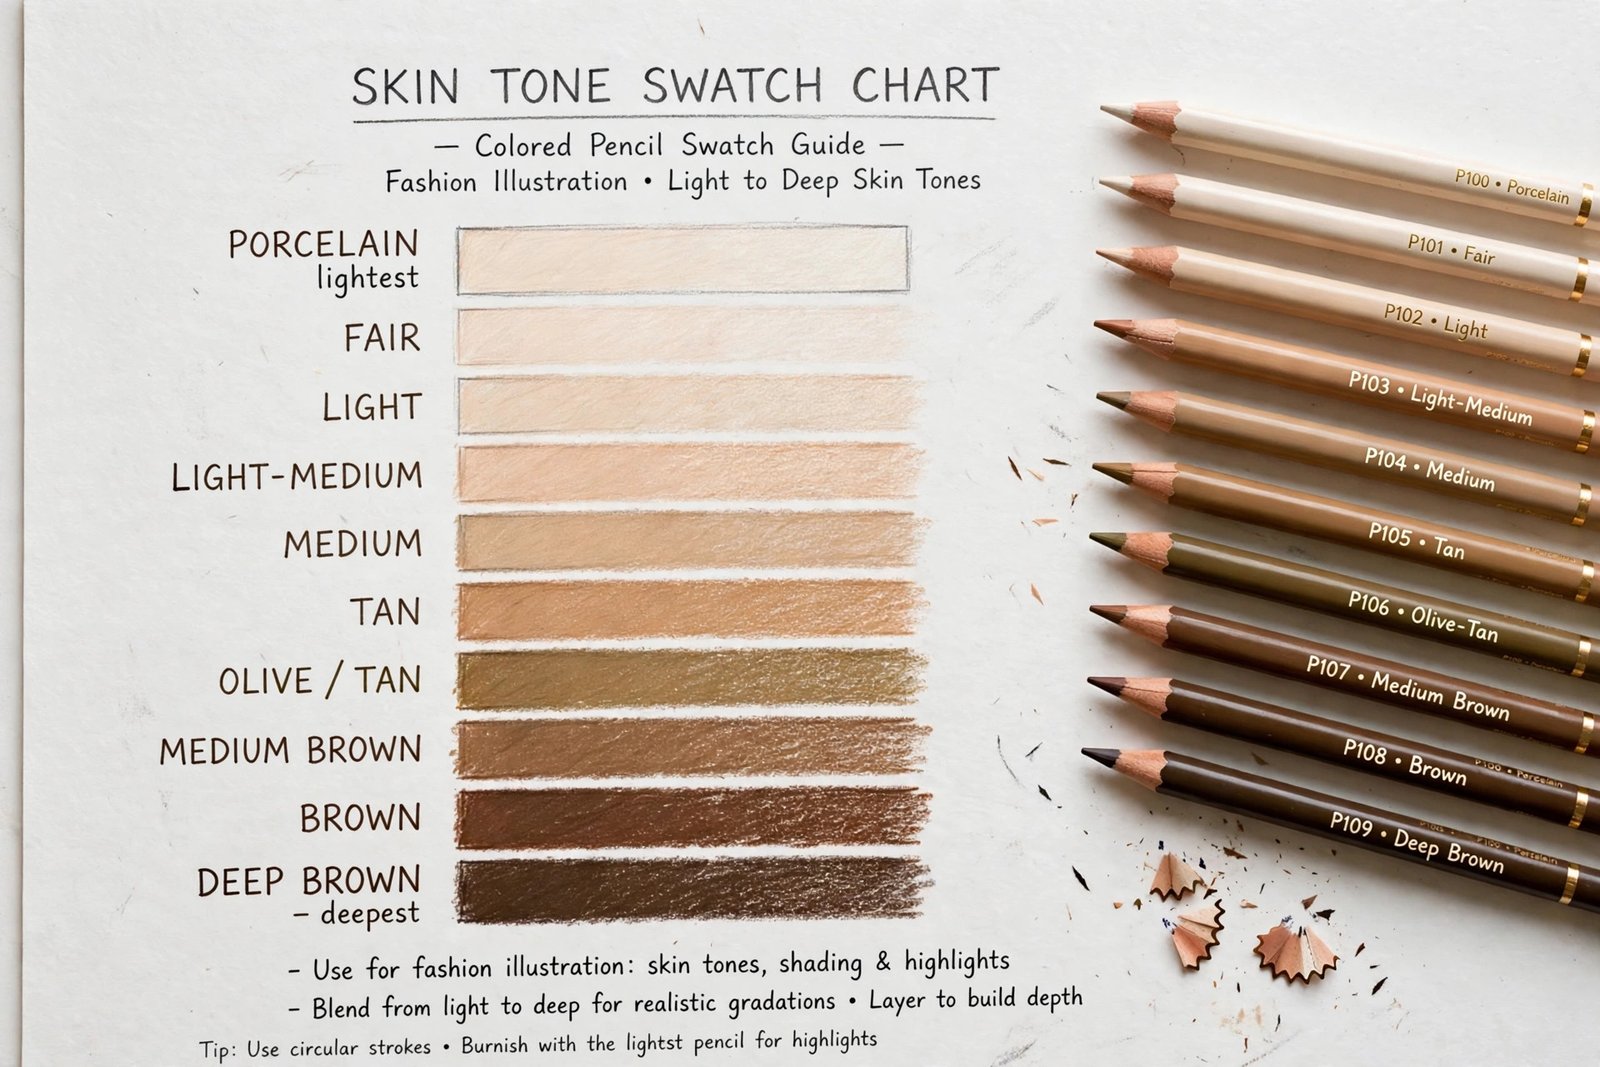
First, always swatch before you color. Draw a small strip of each candidate skin pencil on scrap paper and look at it in good light. A pencil that looks like a perfect peach in the tin can turn orange on the page, and swatching takes thirty seconds. Second, layer instead of pressing: start with the lightest skin tone close to your target, add a slightly deeper tone only where shadows fall, then finish with the lightest tone again over the top to blend. This sandwich of light, medium, and light again creates smooth, realistic skin instead of flat, one-color skin.
Third, remember that skin is never just one color. Real skin has warm and cool areas, a little pink in the cheeks and knuckles, and cooler shadows where light does not reach. Adding the tiniest touch of soft pink to cheeks and lips, and a whisper of warm brown to the deepest shadows, makes a fashion figure look alive. A dedicated skin-tone set, covering porcelain through deep brown, is worth prioritizing for this reason. If you want more practice with faces and figures, our guide on how to color fashion illustrations walks through faces, hair, and outfits step by step.
Coloring Fabric So It Looks Like Fabric
Once skin feels manageable, fabric is the next skill that separates a good page from a great one. The secret is that you are not really coloring a dress; you are coloring light and shadow on a dress. Every fold in fabric has a highlight on one side and a shadow on the other, and your job is to show that pattern with your pencils.
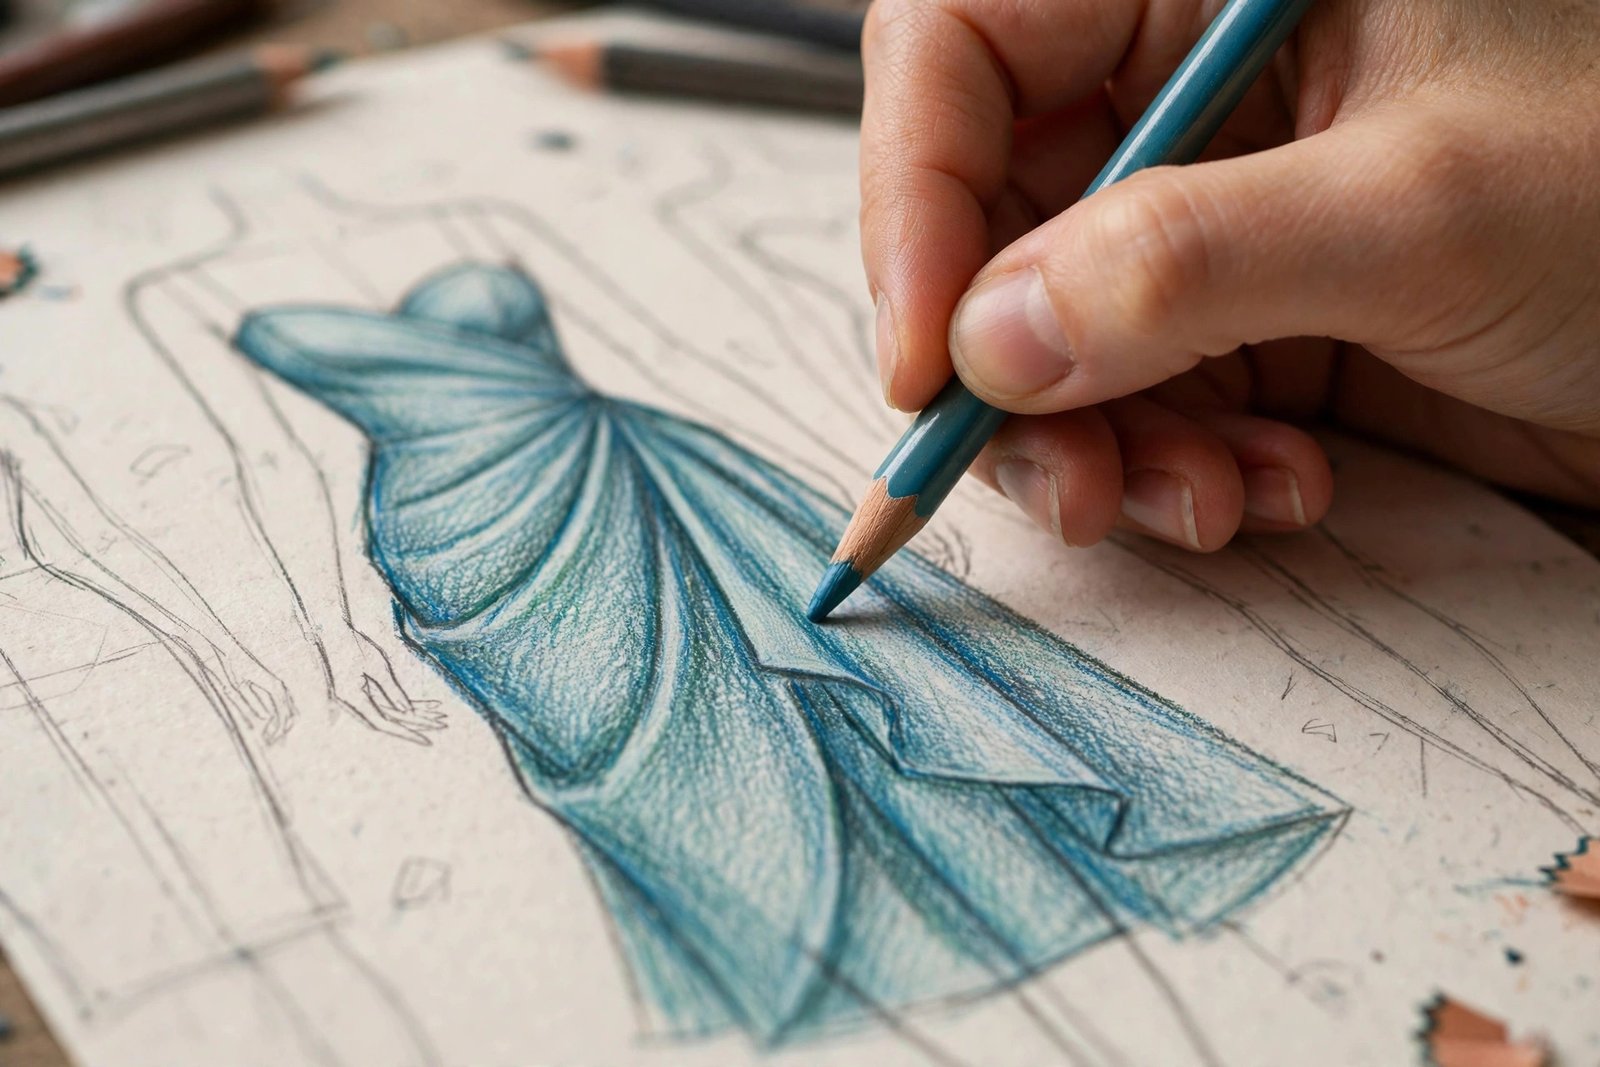
Start by studying the folds before you color anything. Notice where the fabric gathers, where it falls, and where it curves around the body. Then color in layers: a light, even base coat over the whole garment, a mid-tone pressed a little more firmly into the shadowed folds, and the deepest tone only in the very darkest creases. Leave the raised areas of each fold light, or add a touch of white pencil at the end for a highlight. This is how a flat drawing starts to look like silk, satin, or velvet.
Different fabrics need different touches. For silk and satin, keep your layers smooth and your highlights bright and sharp. For cozy fabrics like wool and knitwear, use small, soft strokes that follow the direction of the knit, and keep the highlights gentle and wide. For denim and casual outfits, a slightly rougher stroke actually helps, because denim has visible weave. Matching your stroke to the fabric is a small habit that makes a big difference, and it is one of the most satisfying skills to develop.
A Beginner’s Routine: From Blank Page to Finished Look
Here is a simple routine you can use on any fashion page. First, choose your palette before you start: pick three to five main colors for the outfit, plus your skin tones, and swatch them together on scrap paper. Do the dress, shoes, and handbag colors look good together? Deciding now is much easier than discovering a clash halfway through the page.
Next, color skin first, using the layering method from the skin section. Skin sets the tone for the whole page, and it is easier to match the outfit to the skin than the other way around. Then color the largest areas next, usually the dress, working in light layers and following the folds. Finally, add the details last: shoes, handbags, jewelry, hair, and decorative patterns, using a freshly sharpened pencil. Then step back and finish with highlights and cleanup: a white pencil highlight on jewelry, eyes, and the shiniest fabric, and a gentle eraser for stray marks. This final pass takes five minutes and makes the page look polished instead of merely done.
Common Beginner Mistakes and Easy Fixes
Every beginner makes the same handful of mistakes, and every one of them has a simple fix. Pressing too hard on the first layer is the most common: a heavy first layer fills the paper’s texture, so later layers have nothing to grip, and the color turns waxy and patchy. If your arm is tired, you are pressing too hard. Coloring in random directions is another easy trap, so follow the form instead: stroke along an arm, around the curve of a dress, and in the direction hair grows. Using only one pencil for a whole area makes everything look flat, so use at least three related pencils, light, medium, and dark, for every major area. And do not compare your first pages to someone’s hundredth page online. Your fifth page will look better than your first, and your twentieth will look better still.
Start Coloring Your Best Fashion Page Yet
The best colored pencils for fashion coloring books are the ones that let you layer smoothly, blend skin naturally, shade fabric believably, and sharpen to a fine point for tiny details. For most beginners, that means a quality set of 24 to 36 pencils, wax-based if you love creamy blending, oil-based if you love crisp detail, plus a few dedicated skin tones. Add good habits, light layers, swatching, and patience, and your pages will improve faster than you expect.
If you are ready to practice, pick up the Fashion Coloring Book for Adults by Zira Vale on Amazon and try the routine on your first page tonight. Its fashion-inspired illustrations, from elegant dresses and casual outfits to accessories, shoes, handbags, hairstyles, seasonal looks, and decorative patterns, give you a fresh challenge on every page. You can also explore all of Zira Vale’s books on her Amazon author page if you want more coloring and puzzle books for different moods. And if you want more fashion coloring inspiration, revisit our fashion coloring book for adults feature for ideas on building a coloring habit you will actually keep.
Pick your palette, sharpen your pencils, and color something beautiful. Your best fashion page is the next one you color.
0 Comments